")
What is Launch X-PROG 3?
Launch X-PROG 3 is an advanced immobilizer & key programmer, by working together with X-431 series diagnostic scanners (X-431 V, X-431 V+, X-431 PAD V, X-431 PAD VII, etc), it can read/write keys to the vehicle, it can perform immobilizer identification, Remote control matching, Key chip reading & matching, immobilizer password reading and immobilizer component replacement etc.
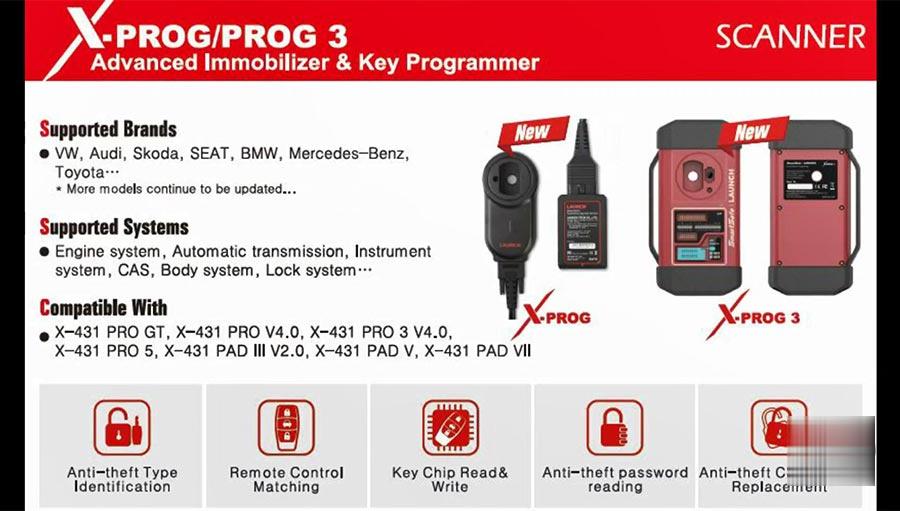
Look at this images for X-PROG 3 supported brands, supported systems, compatible X431 diagnostic scanners and functions (i.e BMW CAS module clone, BMW 8HP clear ISN, Audi transmission clone, MED17 ECU clone and more…)
Good to know:
– X-PROG 3 in gray color: available online eshop like Obdii.shop;
– X-PROG 3 in red color: available in offline dealership.
Today, we will test one of its core functions ” Audi A5 TCU Clone with Launch X431 Pad V and X431 X-prog3″.
Operate in normal method:
♦ Get security code
♦ Get used transmission security code
♦ Make replacement step
♦ TCM programming
♦ Coding, basic setting…
Why clone?
After replacing the used transmission, perform a TCU CLONE may help you skip all security, programming and coding steps. It will effectively improve work efficiency and save working time.
X-PROG operation process with ease.
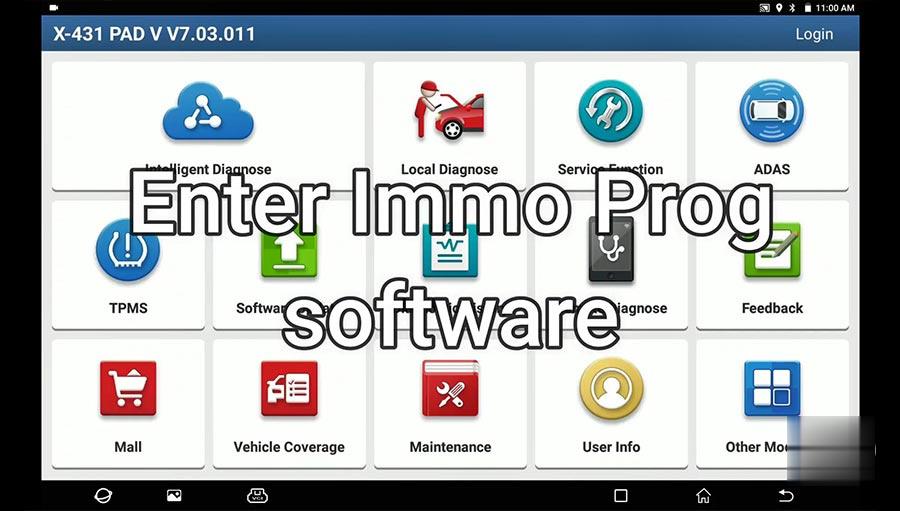
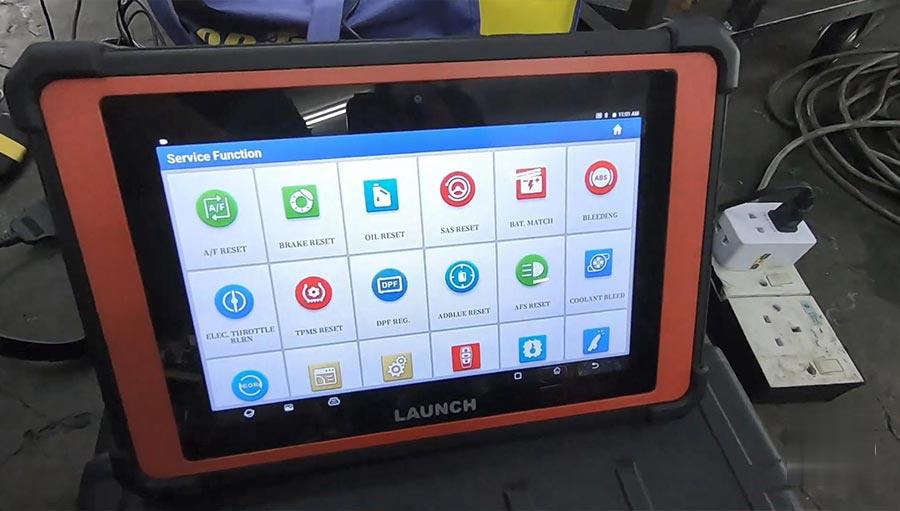
Enter Immo Prog software:
Tap “Service Function”;
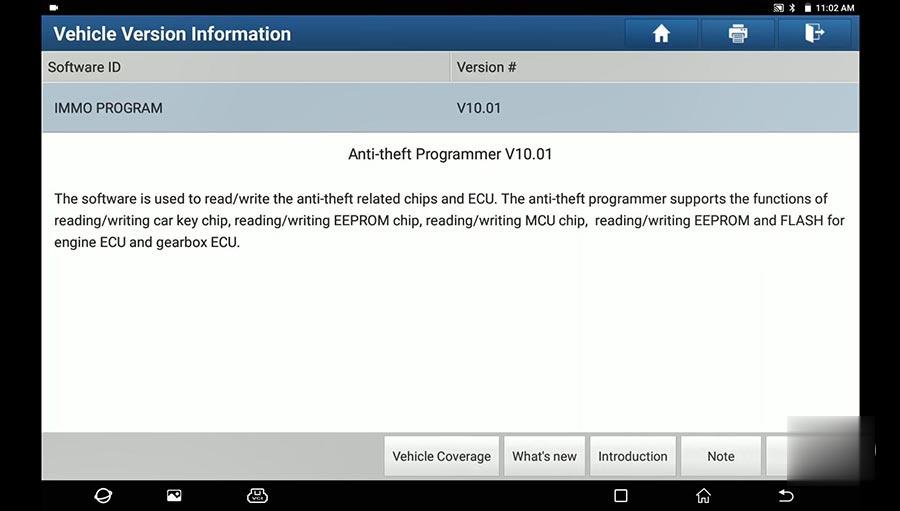
Tap “IMMO Program” to read /write the immo related chips and ECU, to read and write car key chip / EERPM chip / MCU chip / EEPROM & Flash for engine ECU and gearbox ECU.
Connecting the VCI in Wifi mode…
Loading…
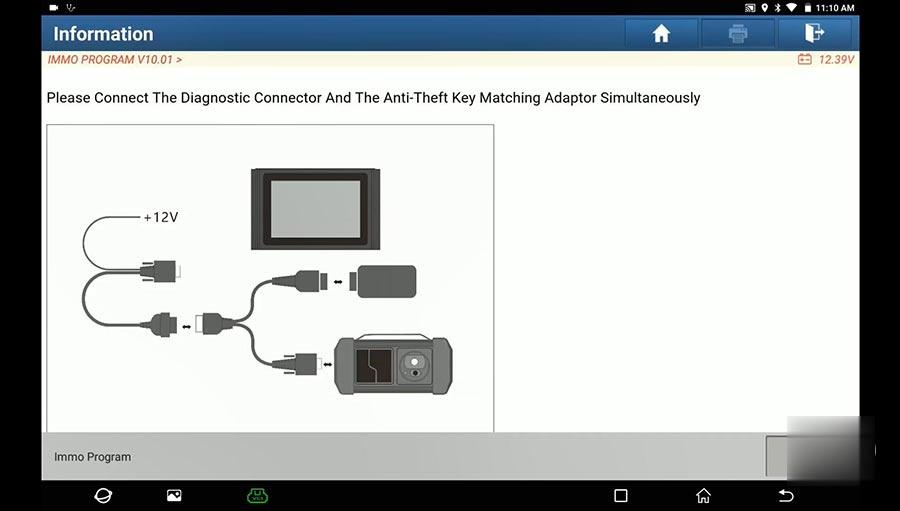
Please connect the diagnostic connector and the X-Prog3 immobilizer key matching adaptor simultaneously.
If there is newest version of programmer to be upgraded, click on “Yes”.
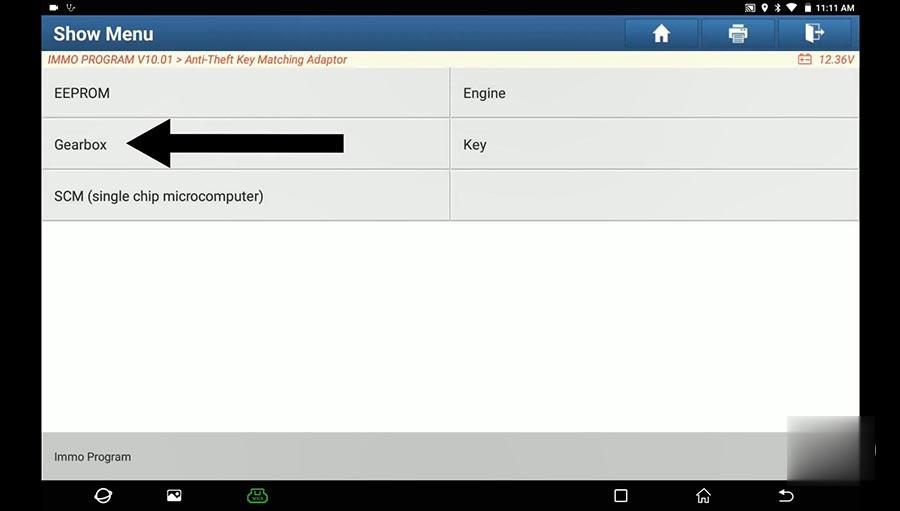
Tap “Gearbox”
Information: the current read / write data volume is large. To improve communication stability, use the USB for connection, click on “OK”.
Then perform the [Connect] function first.
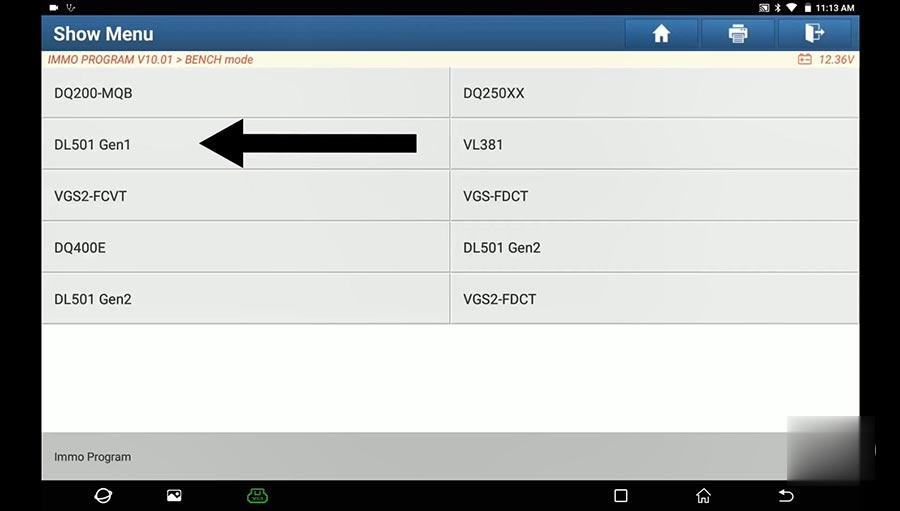
Tap “DL501 Gen1”.
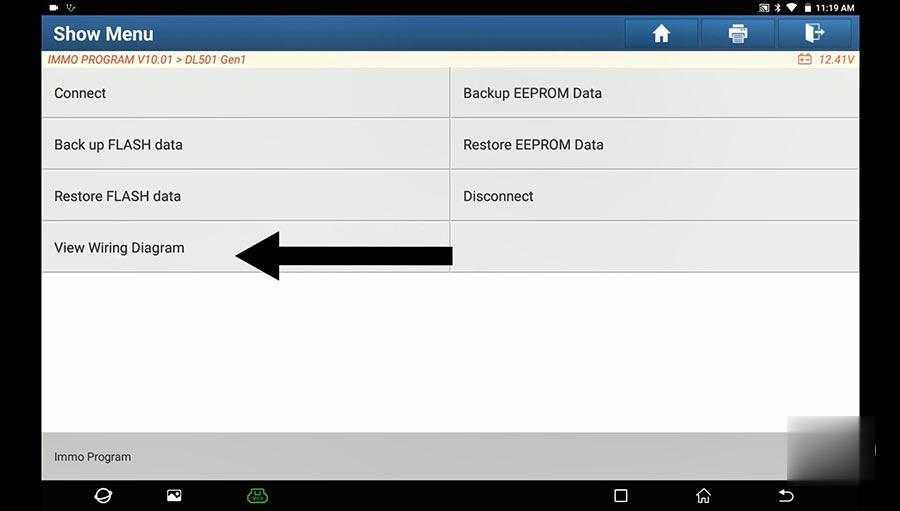
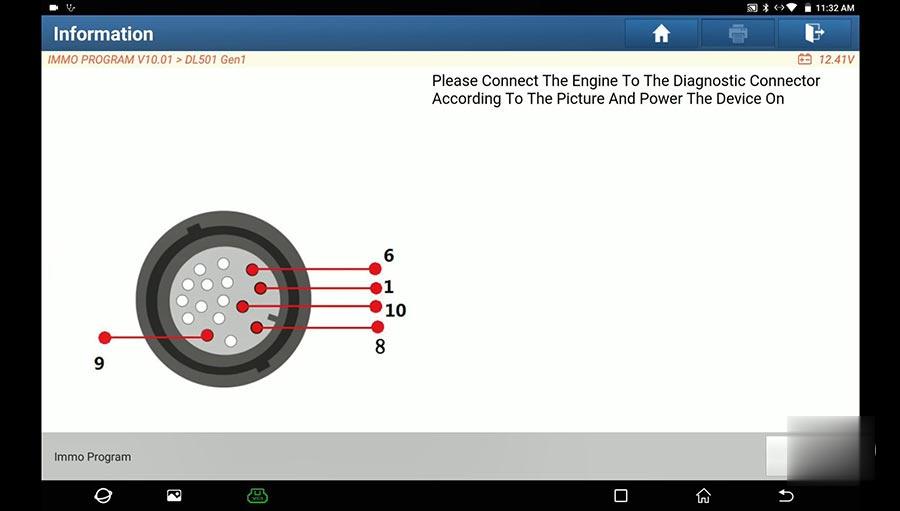
Tap “View Wiring Diagram”.
Please connect the engine to the diagnostic connector according to the picture and power the device on.
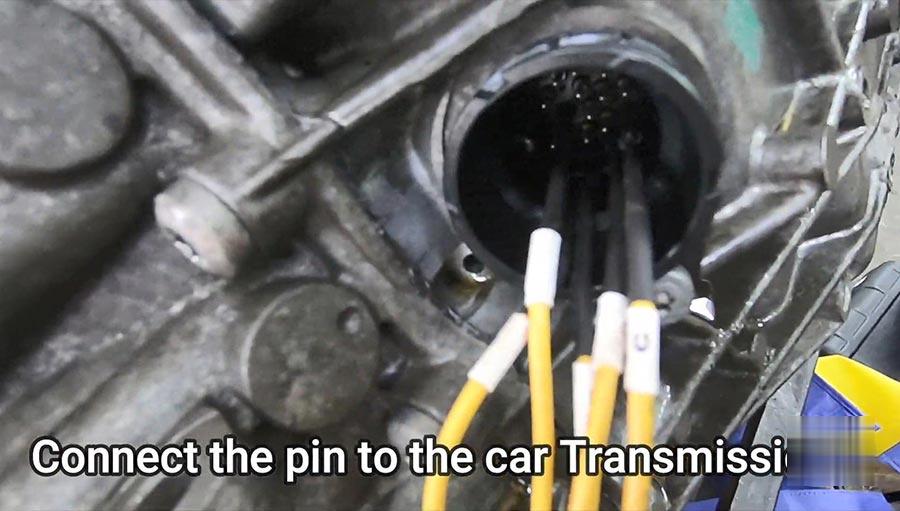
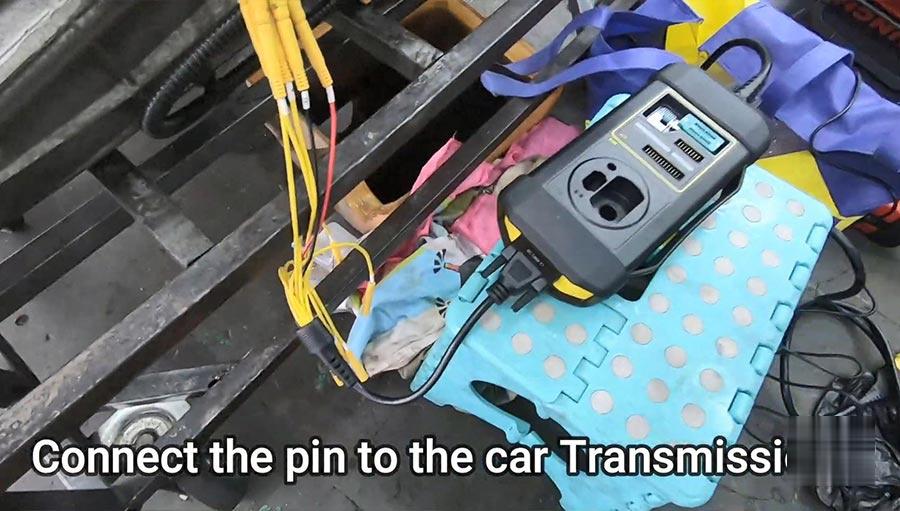
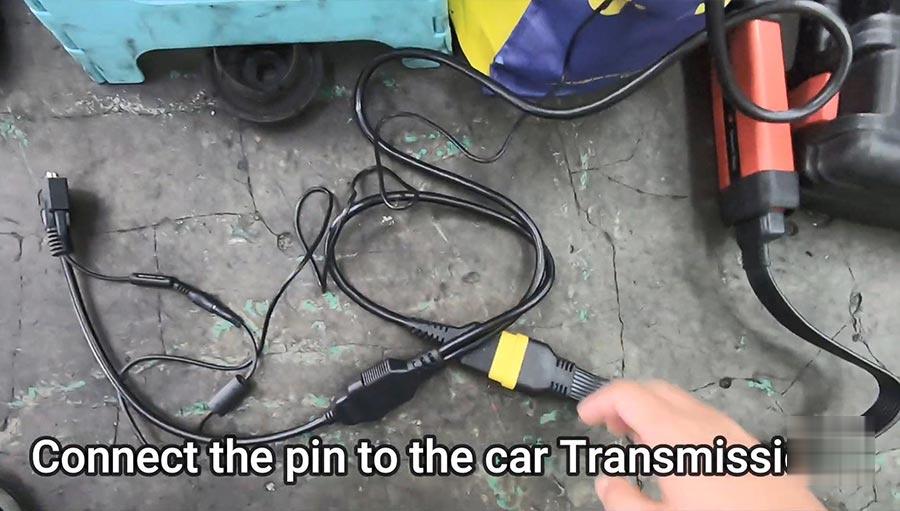
Connect the pin to the car transmission.
Star the Clone process
Click on “Connect”.
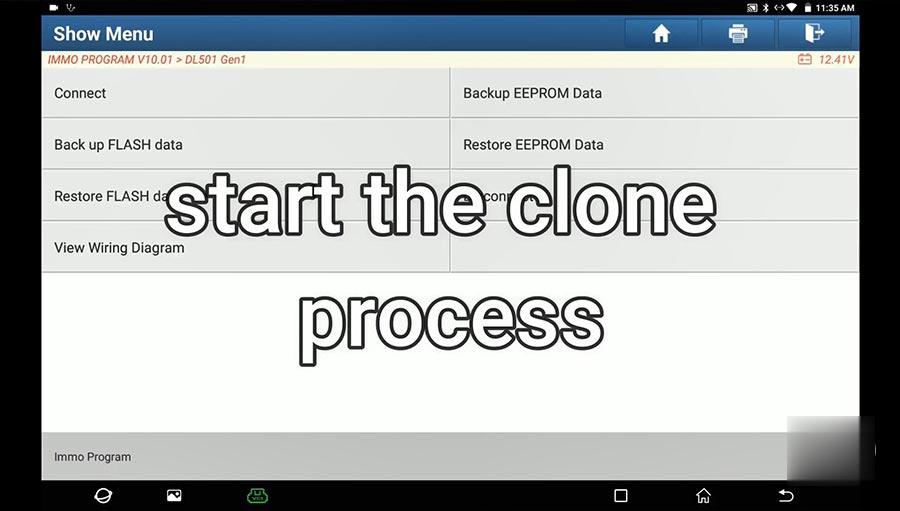
Tap “Backup EEPROM Data”.
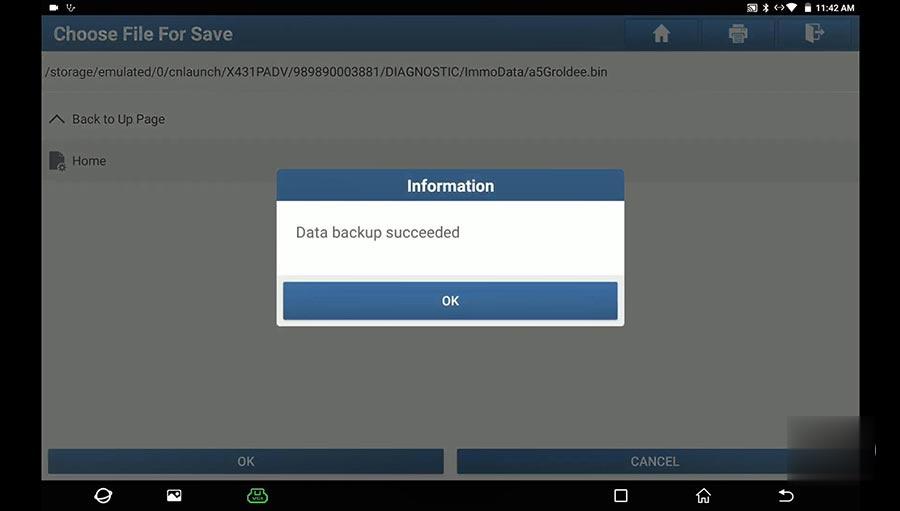
Please input the save file name.
Data backup succeeded.

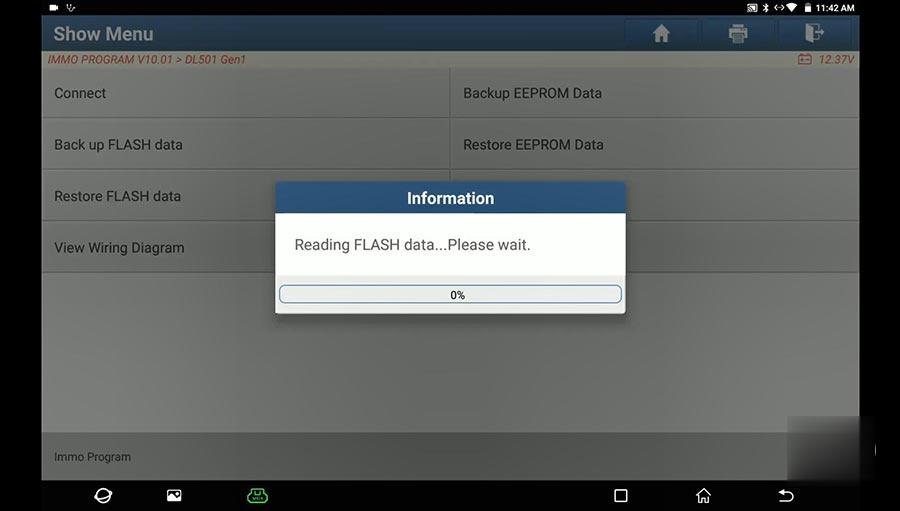
Tap ” Back up Flash data” and it will reading.
Please input the save file name.
Data backup succeeded.
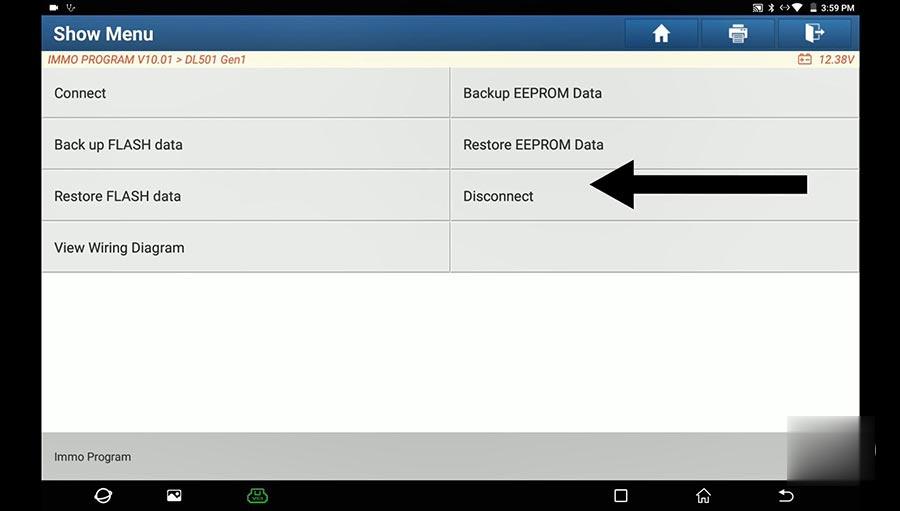
Tap “Disconnect” until you can see “Disconnect successfully”.
Connect the pin of XProg 3 to the transmission need to be replace.

Tap “DL501 Gen 1” and then “Connect”.
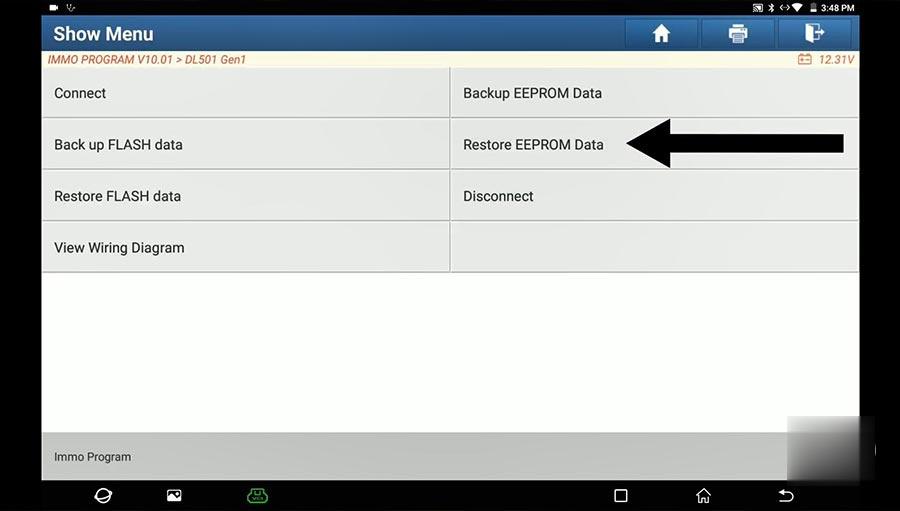
Tap “Restore EEPROM Data”.
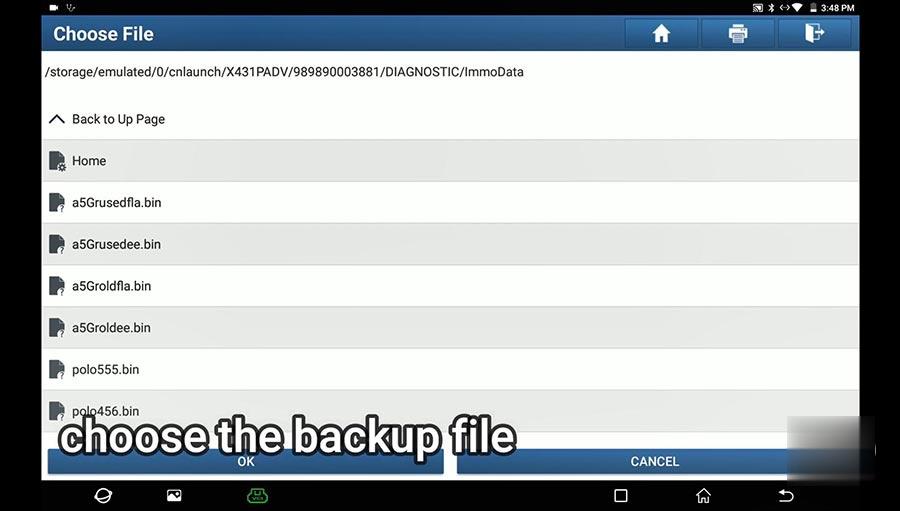
Choose the backup file.
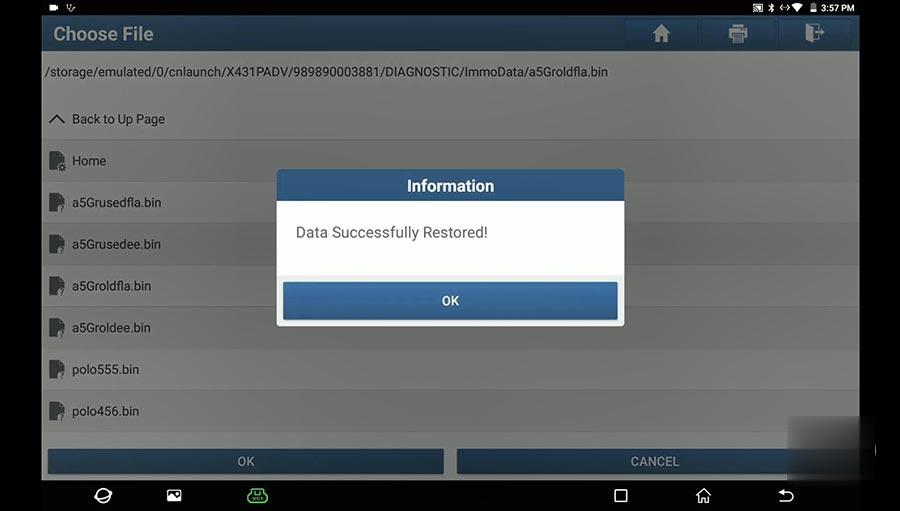
And then get information “Data successfully restored”.
Tap “Restore Flash Data”.
Restoring…
Data successfully Restored!
Quit the software of Launch X431 PAD V, disconnection succeed.
Do not forget to remove the XPROG 3 VCI from the vehicle.
Job is done!
Make a basic setting and the car is ready to drive.
Leave a Reply