
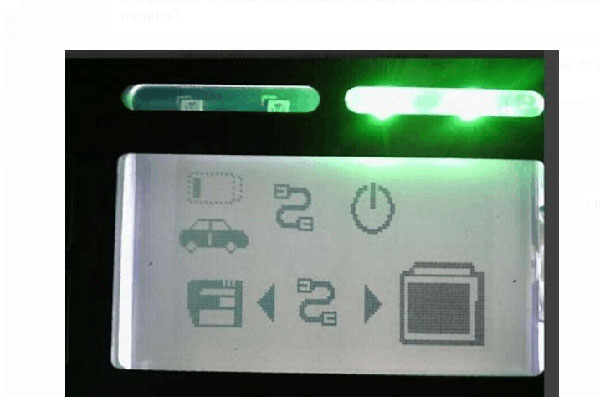
Customer Problem: When i connected SD Connect C4 with my computer, it showed white 00 connection status at the bottom right corner. A message prompted “Initialization of diagnosis multiplexer failed.” Do i need to initialize the device?

Obdii.shop engineer solution:
The prompt indicates that you need to update MB SD C4 firmware, not initialization.
Here is the firmware update guide:
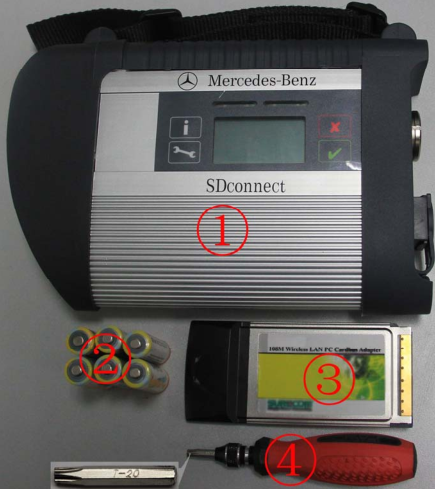
Step 1: Please prepare all the tools below:
Note: If your tool is MB SD C4 PLUS (Item No. SP100-E), you don’t need to install battery again, because the batteries have been installed in the device before delivery.
1). SDconnect C4 multiplexer which need to input the batteries
2). 6 units Ni-MH rechargeable batteries (size: AA, Voltage:1.2 V, Capacity: 1700mA above)
3).1 unit 108M WIFI card
4).Plum screwdriver, specification: T-20
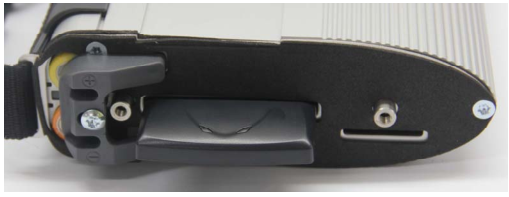
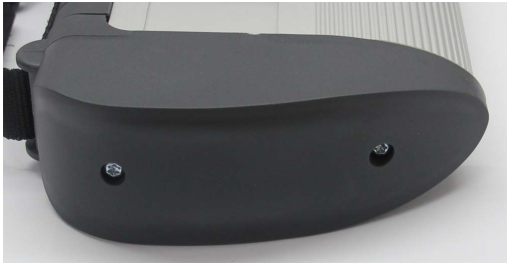
Step 2: Take out the rubber
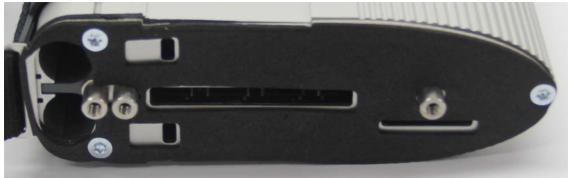
1).Use the T20 Plum screwdriver to take out the screws as below.
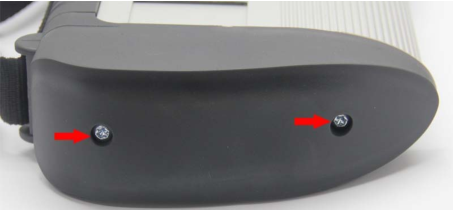
2).Take out the rubber as below
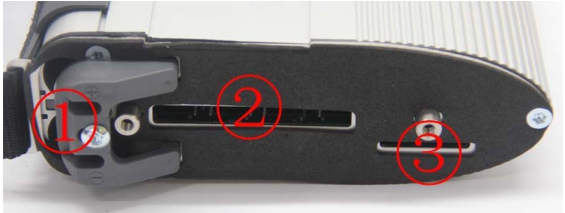
Note: No.1 is Batteries space, No.2 is WIFI card space, No.3 is SD card space
Step 3: Insert the rechargeable batteries
1).Use the T20 plum screwdriver to take out the screws of batteries space fixation as below
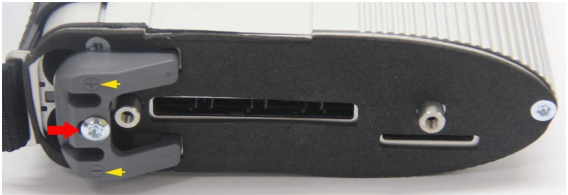
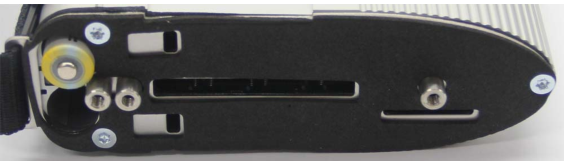
2).Take out the fixation of batteries space. Pay attention to the battery polarity marked in the batteries space
3).Insert the batteries (Note the battery polarity)
4).Button on the Fixation of batteries space after inputting the rechargeable batteries

5).Use the T20 plum screwdriver to fix the screws of batteries space fixation
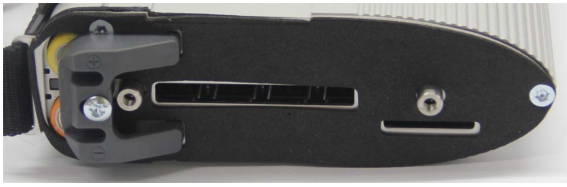
Inserting the batteries is finished!
Step 4: Install WIFI card
Note:If the MB SD C4 device you received has installed the Wifi card, please ignore this step.
1).Insert the WIFI Card into the WIFI Card Space
Please make the correct direction
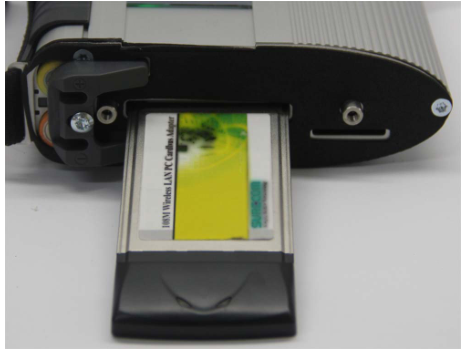
2).Push it to make it totally connected
3).Cover the rubber and fix the screws to finish all the work
Step 5: Connect SD C4 Diagnostic tool to your computer via green Lan cable, and then connect SD C4 to your vehicle via OBD cable
Note: if OBD cable cannot connect, you can use OBD 12V power supply to instead of it.
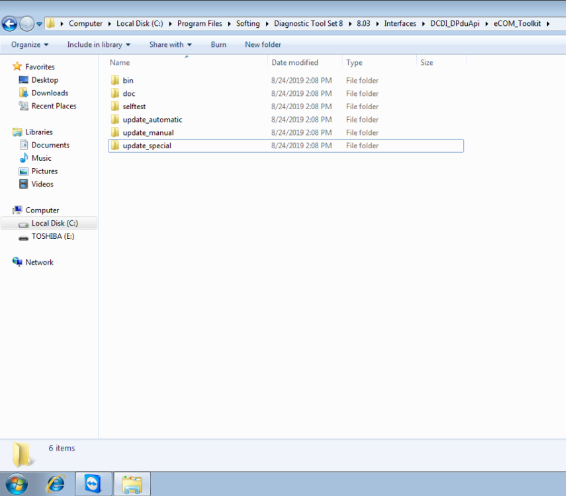
Step 6: Open DAS software, go to C:\programm files\SDconnect Toolkit folder to check if there are three files incl. Update_ automatic, Update_ manual and Update_ Special.
Note: If the file name is Update_ automaticx, Update_ manualx and Update_ Specialx, please change them to correct one.
Step 7: Restart your computer
Step 8: Start to update firmware
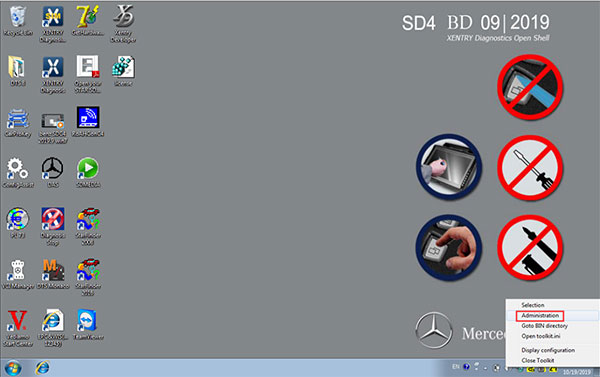
1).Right-click on the lower right corner of the computer, select administration, and then select Software update
2).Mainly upgrade three files, as shown below, upgrade order 02 -CSD-2-11.zip-> 01 -> 03
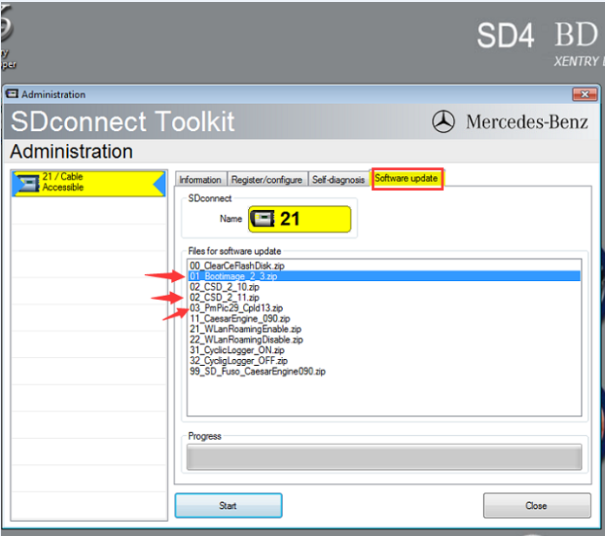
Then it can work again
Leave a Reply