
Setting the IP address for your SD C4 PLUS DOIP is an important step to ensure seamless communication and functionality. In this blog post, we will provide you with a step-by-step guide on how to set the IP address for your SD C4 PLUS DOIP device. Follow these instructions carefully to successfully configure the IP address.
1.Open the local connection
To begin, open the local connection on your SD C4 PLUS DOIP device. This can usually be accessed through the device’s control panel or settings menu.
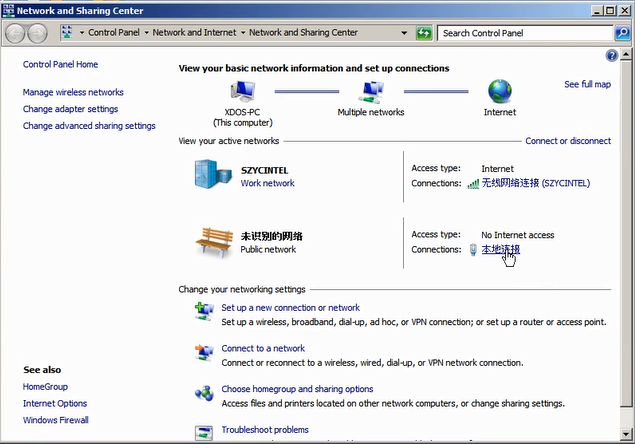
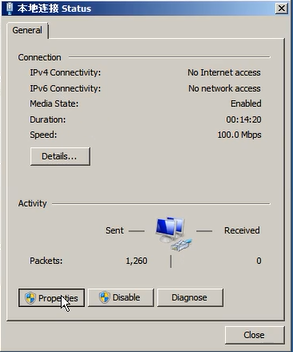
2.Click status
Once the local connection is open, navigate to the “Status” section. This will allow you to access the network settings and configure the IP address.
![]()
3.Setting
In the “Status” section, you will find various options and settings related to network configuration. Look for the “Setting” option and click on it to proceed.

4.Setting the ip address to 172.29.127.35
Within the network settings, locate the field for IP address configuration. Enter the IP address “172.29.127.35” in the designated field.
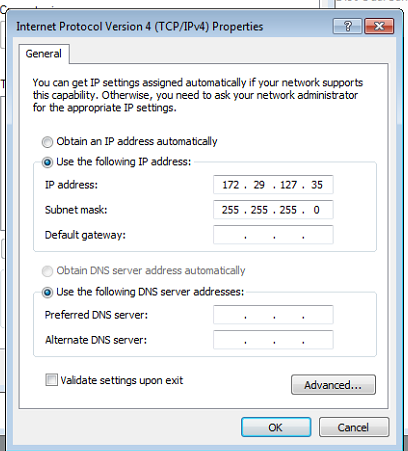
5.Select advanced
To further customize the network settings, select the “Advanced” option. This will provide you with additional options and configurations for your SD C4 PLUS DOIP device.

6.Click Add , setting DOIP address
Within the Advanced settings, locate the option to add and set the DOIP address. Click on “Add” to proceed with the configuration.
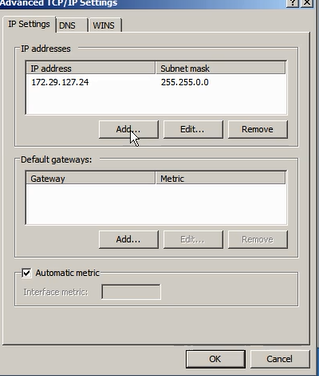
7.Setting IP address to 169.254.0.35
In the DOIP address configuration, enter the IP address “169.254.0.35” in the designated field.
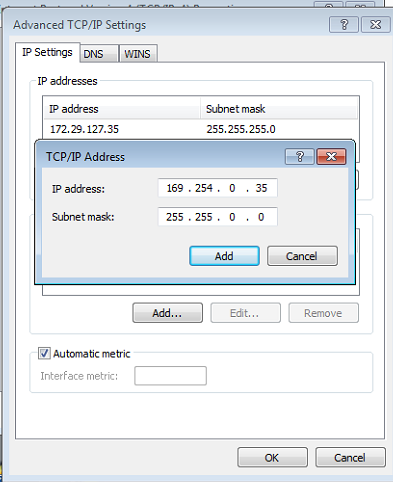
8.Click add , choose ok , then finish the setting
After entering the IP address, click on “Add” to save the configuration. Then, choose “OK” to confirm the changes. Finally, complete the setting process by following any additional prompts or instructions provided by the device.
More request for star diagnosis, welcome to check here or www.obdii.shop directly.
Leave a Reply