
Many BMW enthusiasts and professionals face the challenge of needing a Windows machine for coding and diagnostics. However, it is possible to install INPA/ISTA Software on an M1 or M2 MacBook, eliminating the need to purchase a separate Windows laptop. In this article, we will provide a step-by-step guide on how to set up your virtual platform, install BMW Standard Tools, configure K+DCAN drivers, and finally install ISTA and PSDZ data.
Step 1: Setting Up Your Virtual Platform
To begin, download the Parallels software, which allows you to run a virtual Windows environment on your MacBook. You can find a cracked version of Parallels on certain torrent websites https://1337x.to/torrent/5401456/Par…macOS-haxNode/. Follow the instructions provided in the crack folder to install the software successfully. Make sure to copy the crack folder to your computer. Once installed, choose a version of Windows (e.g., Windows 11 Pro) to run on the virtual platform.
Step 2: Installing BMW Standard Tools
Download the “VRRTuning_2021_BMWTOOLPACK” package from https://drive.google.com/file/d/1pz5…N7mBMxys_/view, which contains the BMW Standard Tools required for coding and diagnostics. Run the package as an administrator to initiate the installation process. If you encounter errors related to .NET 3.5, enable it by going to “Windows features” in the command menu and checking the box for .NET Framework 3.5. Proceed with the installation of the package, following the provided instructions.
STEP 3: – K+DCAN DRIVERS
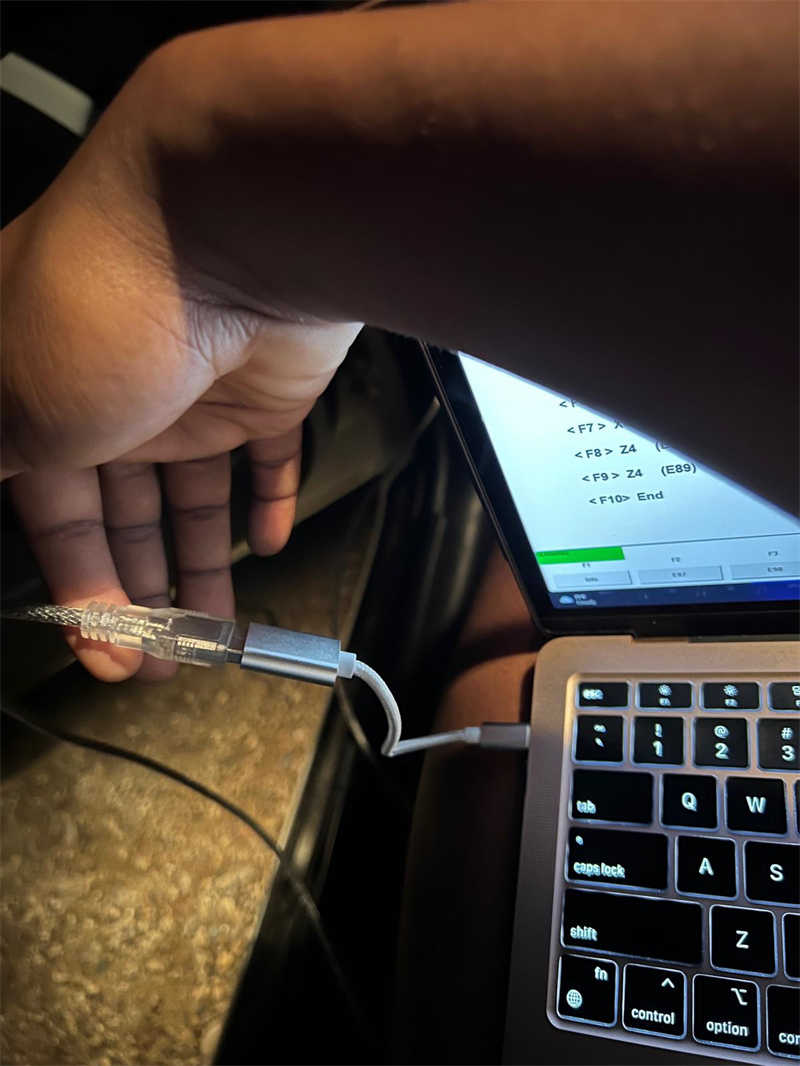
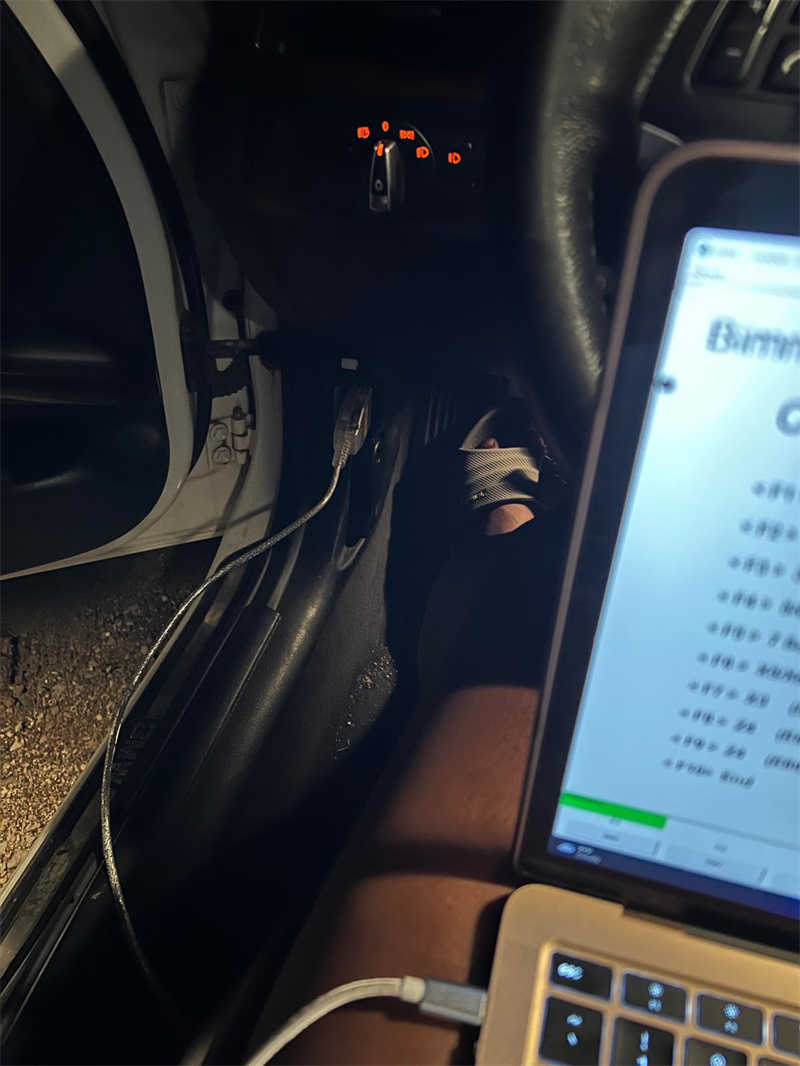
– Plug your cable into your computer. You will need a USB-A to USB-C connector. The cable i bought came with one.
– Open device manager and you should see that your device is detected but uninstalled. You can find the driver here: https://ftdichip.com/wp-content/uplo…tributable.zip
– Ensure that after downloading the driver you’ve extracted it to the C:/ drive
– You’ll have to install the driver twice!
– Right click on the D CAN device under ports and update the driver locally from your C:/ drive. It should install the USB Controller. Then do the same again for the USB Serial that pops up in yellow.
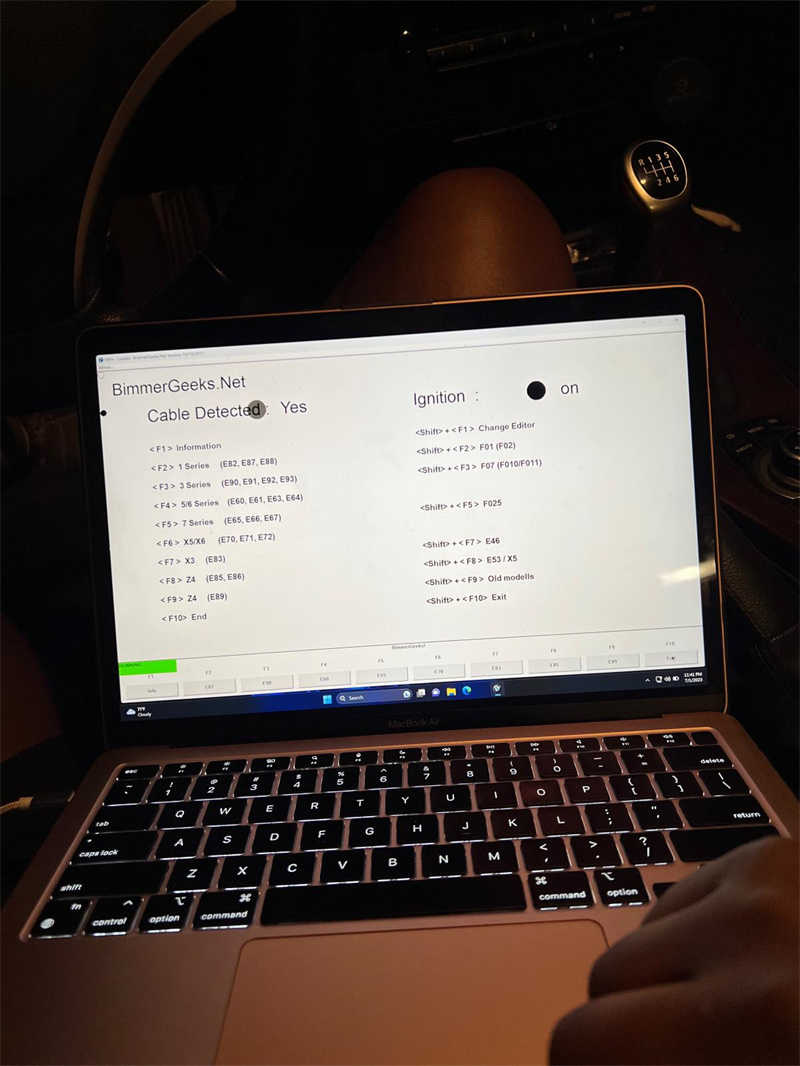
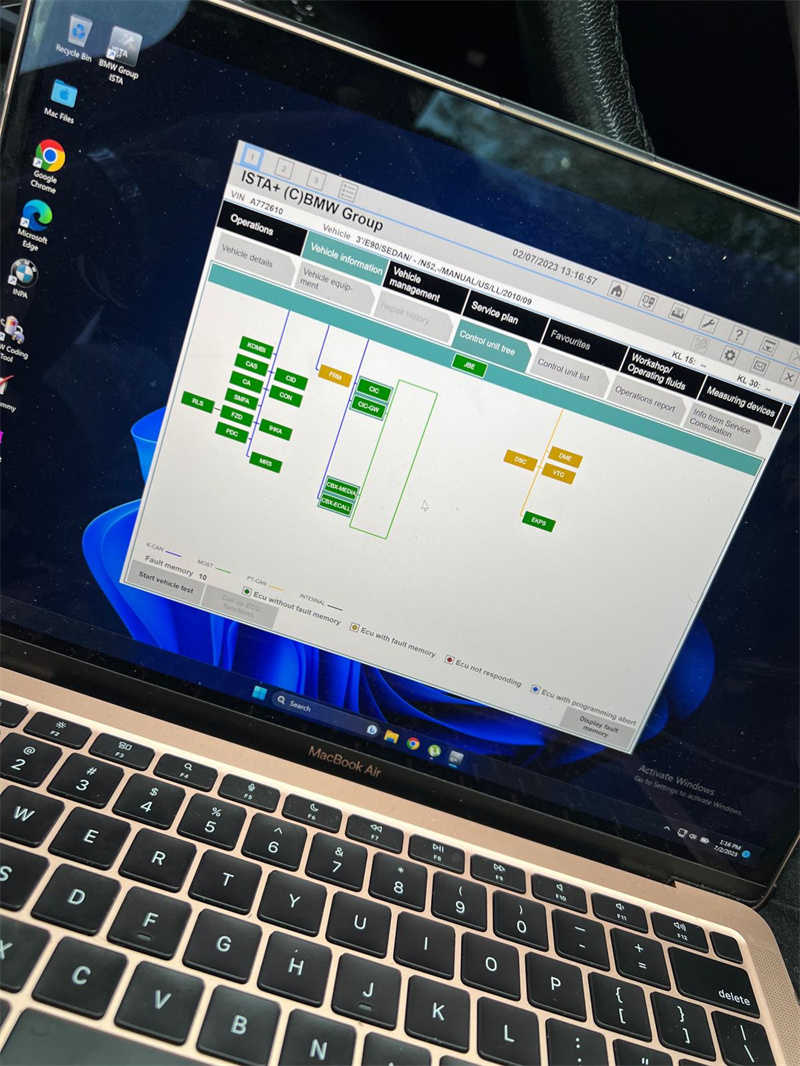
– At this point you should be able to open INPA and see that your cable works!
– A good quick test is to just do a reinitialisation of your sunroof if equipped or activate some function like lights or so on with INPA. Read you SGDB info to make sure all modules are being read and okay.
STEP 4: – INSTALL ISTA AND PSDZ DATA
– Installation of these programs are explained fully in the video linked above by VRRTUNING.
– Installation of ISTA is quite straightforward and does take quite some time. On my M1 it took about 30 mins to install.
– For full installation you’ll need at least 369GB of space available.
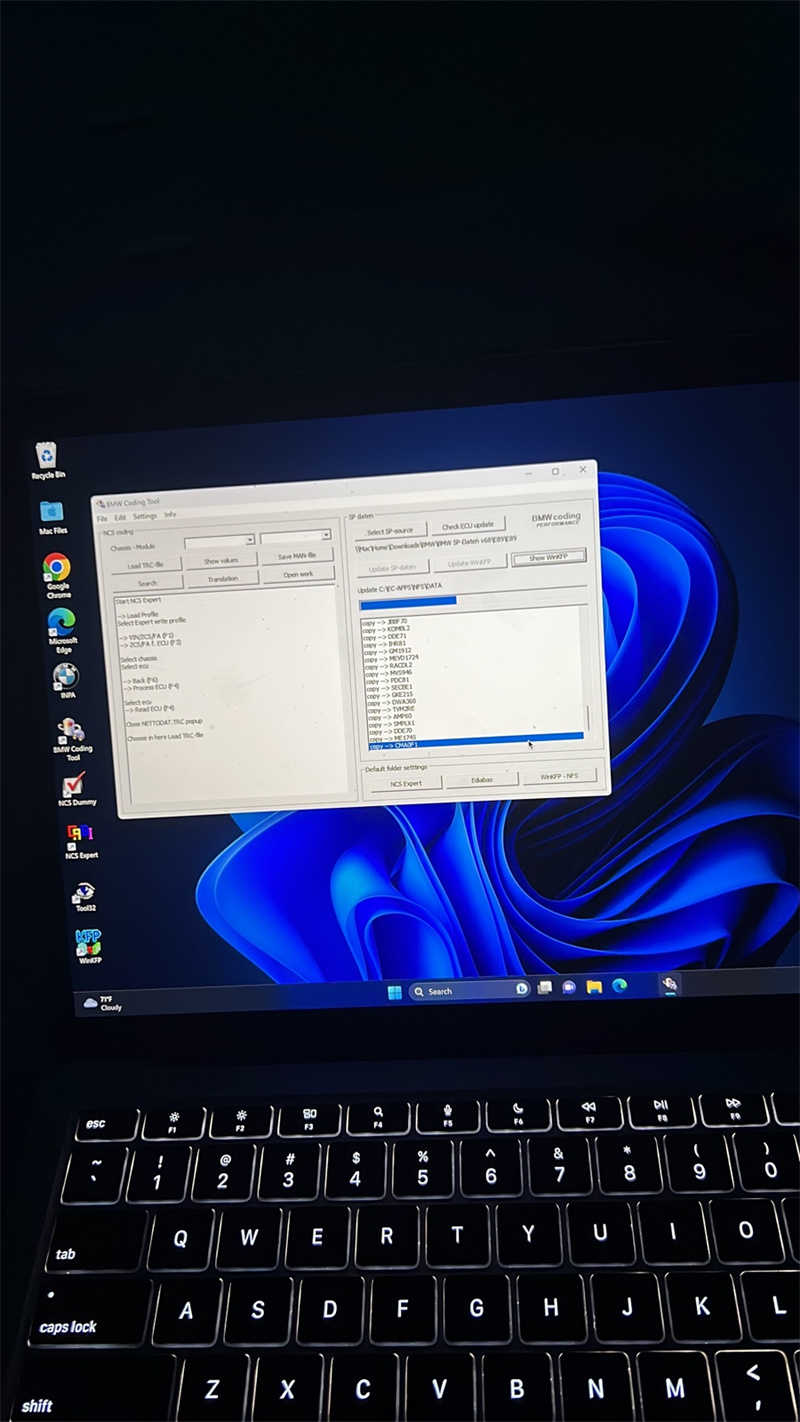
Important Note: Creating the FSW_PSW.MAN File
When initially running NCS EXPERT, you may encounter an error. To resolve this issue, you must create the FSW_PSW.MAN file.
Conclusion:
By following this comprehensive guide, BMW enthusiasts and professionals can successfully install INPA/ISTA on their M1 or M2 MacBook, enabling them to perform coding and diagnostics without the need for a separate Windows machine. The provided steps cover setting up a virtual platform, installing BMW Standard Tools, configuring K+DCAN drivers, and installing ISTA and PSDZ data. With a smooth and lag-free platform, you can confidently engage in coding and diagnostics on your MacBook. If you encounter any difficulties or have questions, feel free to reach out for assistance.

More information about bmw diagnostic tools, please visit bmw trouble repair.
–
Leave a Reply