
This instruction show you guide on how to correct injector for HINO truck by HINO DX3 diagnostic software.
Requipment:
Nexiq USB2 Diagnostic Adapter
HINO Diagnostic Explorer DX3
Procedures:
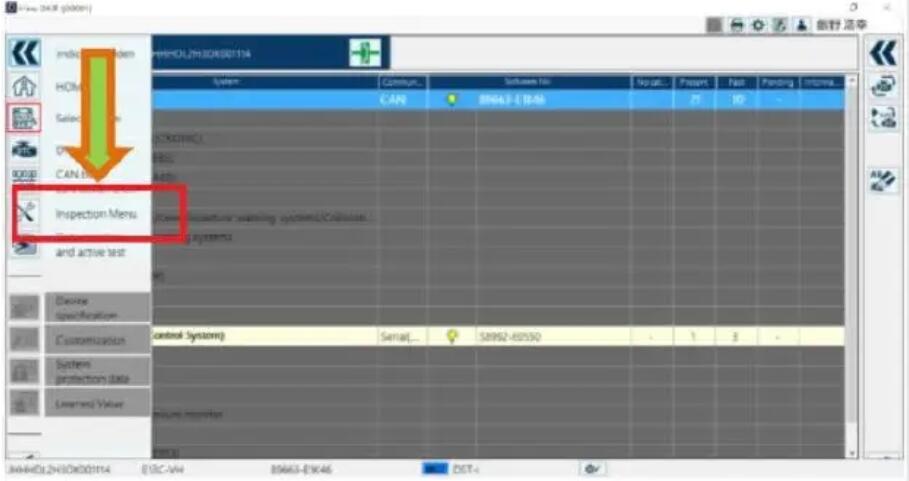
1. Select Inspection Menu on the System Selection screen.
2. Select Engine in the system, select lnjedor correction, and click or press the [OK] button.
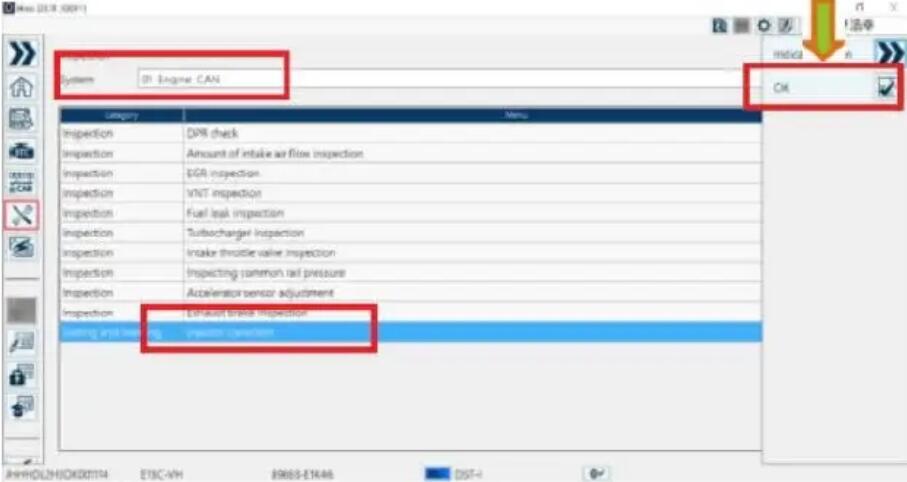
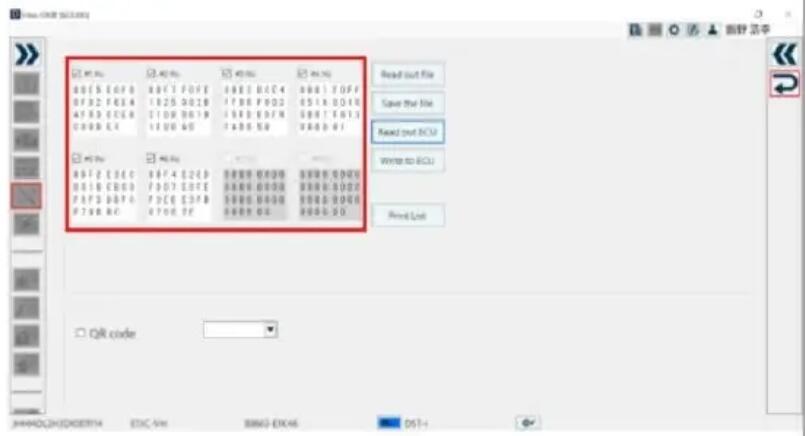
3. The Injector correction screen appears
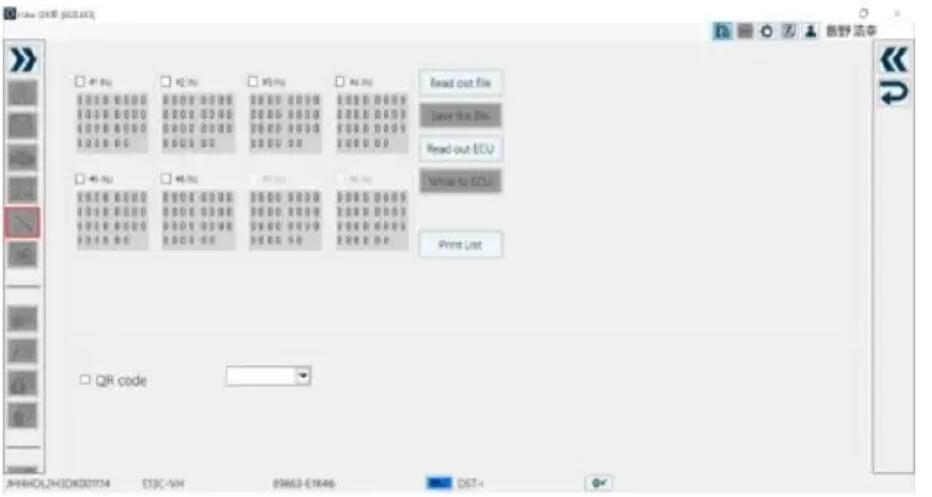
Writing to ECU: A function to write the Ilnjector correction value to the specified cylinder.
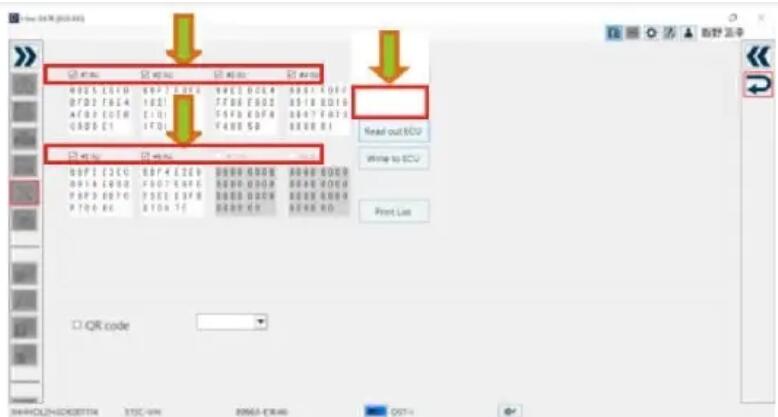
1.Check the cylinder where the value will be written, adjust the Injector correction value, and click orpress the [Write to ECU] button.
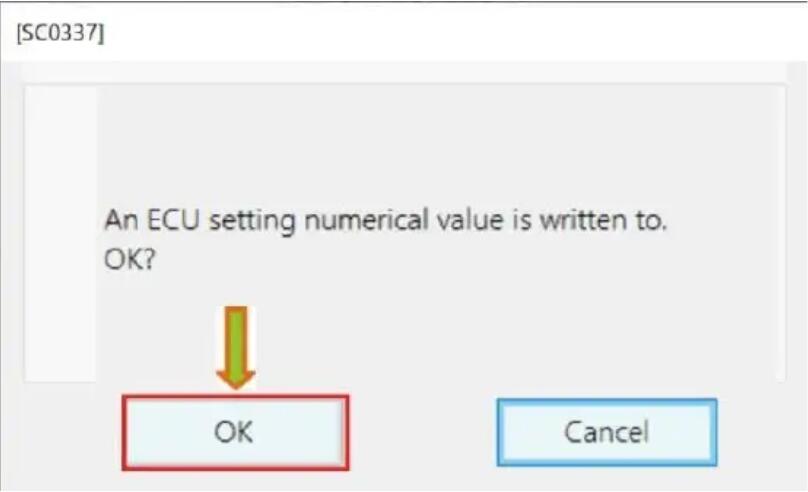
2.Check the content of the message; then click or press the [OK] button (Writing to ECU Confirmationscreen)
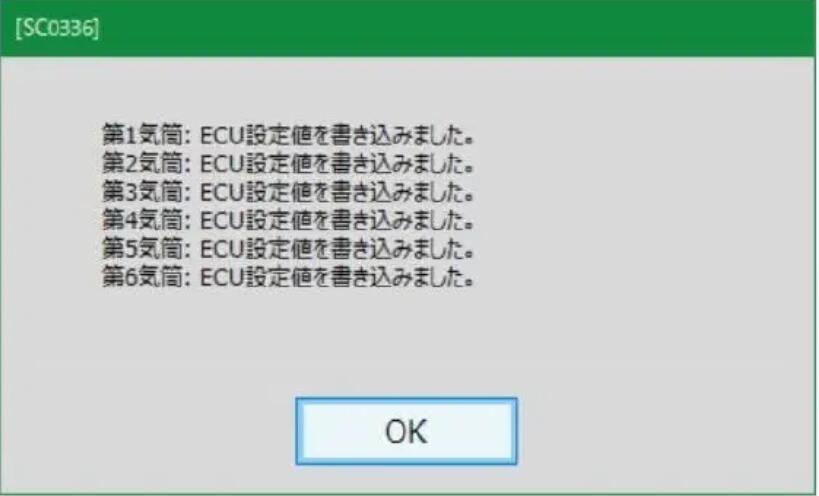
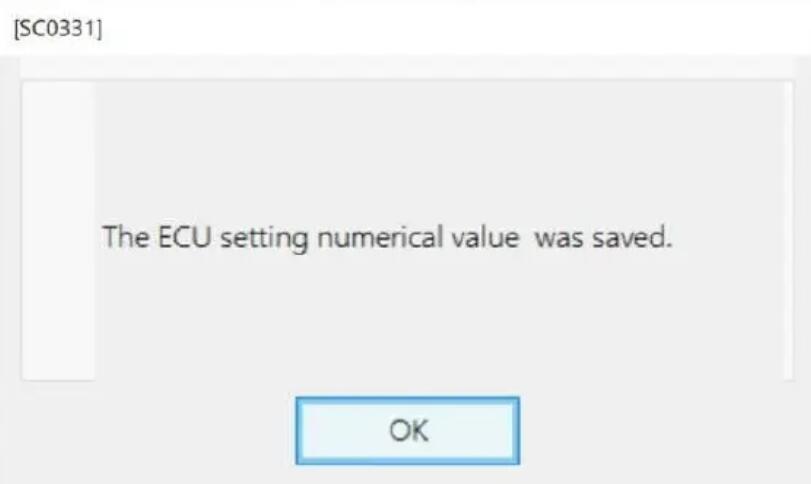
3.When writing is completed, the successful screen is displayed (Writing to ECU Successful screen)
Reading from ECU: A funcion to read the injector correction value of the specified cylinder from theECU.
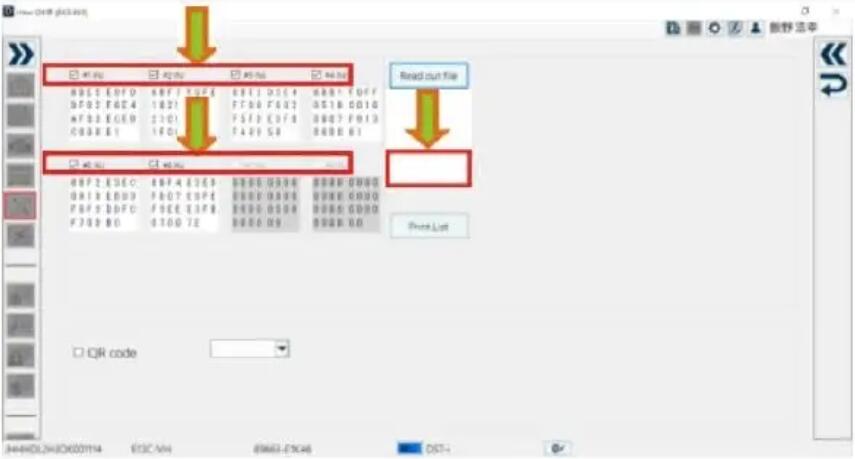
1.Check the cylinder to be read; then click or press the [Read out ECU] button (Injector correctionscreen)

2.The Injector correction value is read from the ECU and the display is updated.
Saving data in a file: Afunction to save the injector correction value of the specified cylinder in a file.
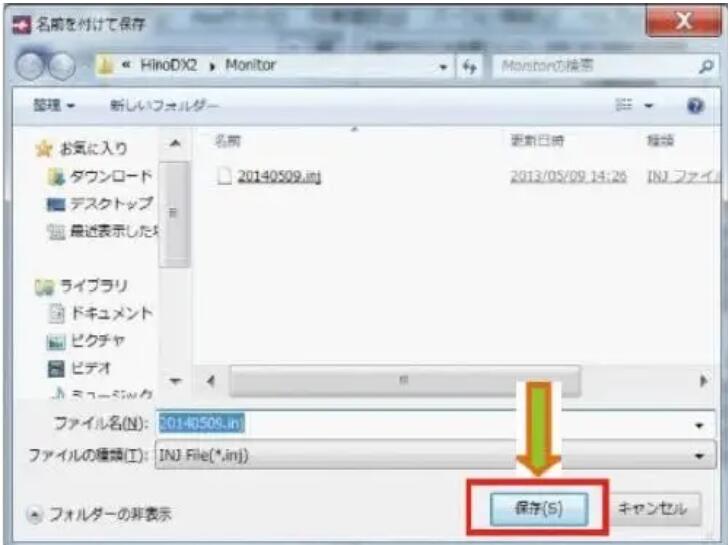
1.Check the cylinder that saves the lnjector correction value; then click or press the [Save the file] button.
2.Set the location where the file is to be saved and file name; then click or press the [Save] button(Saving file dialog)
3.When the file has been saved, the success screen is displayed
Retrieving a file: A function to read the lnjector correction value saved in a file.
1.Click or press the [Read out file] button.

2.Specify the file to be read; then click or press the [Open] button.
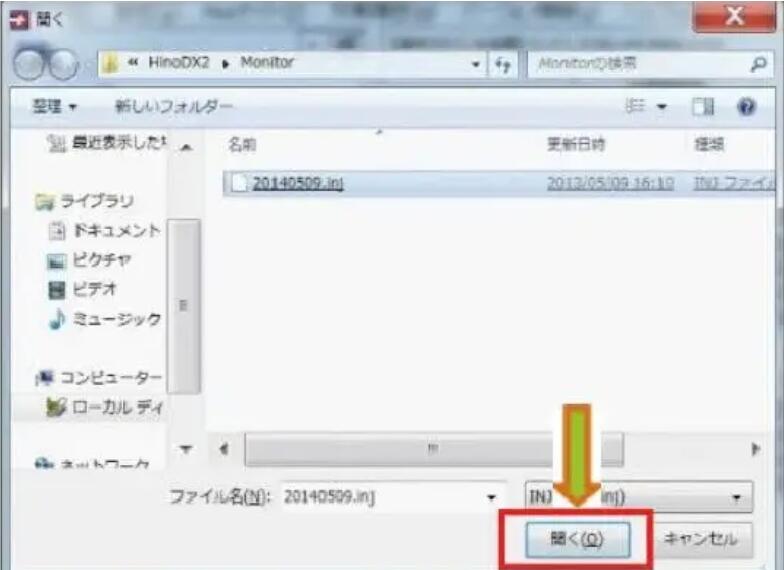
3.All cylinder data contained in the file is read and the display is updated.

Leave a Reply