
Caterpillar Injector Trim Calibration
#Purpose
Injector trim calibration is required whenever an injector is replaced. It ensures the engine meets EPA emission standards by allowing you to program the injector trim code into the ECM. Once calibrated, the injectors are verified for accuracy.
#Access
To perform an injector trim calibration:
- Connect the CAT ET to the Service Tools port.
- From the Service Menu, select Calibration.
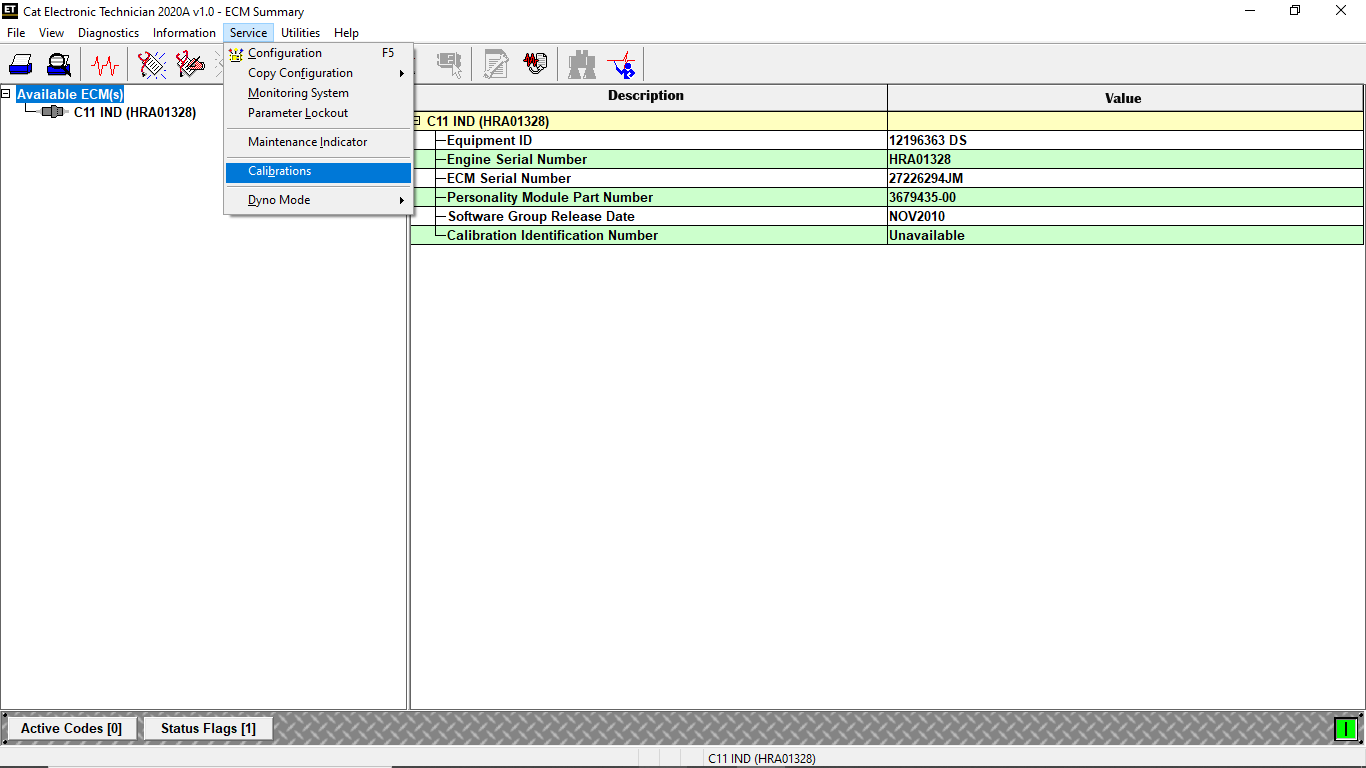
- Choose Injector Trim Calibration from the submenu.
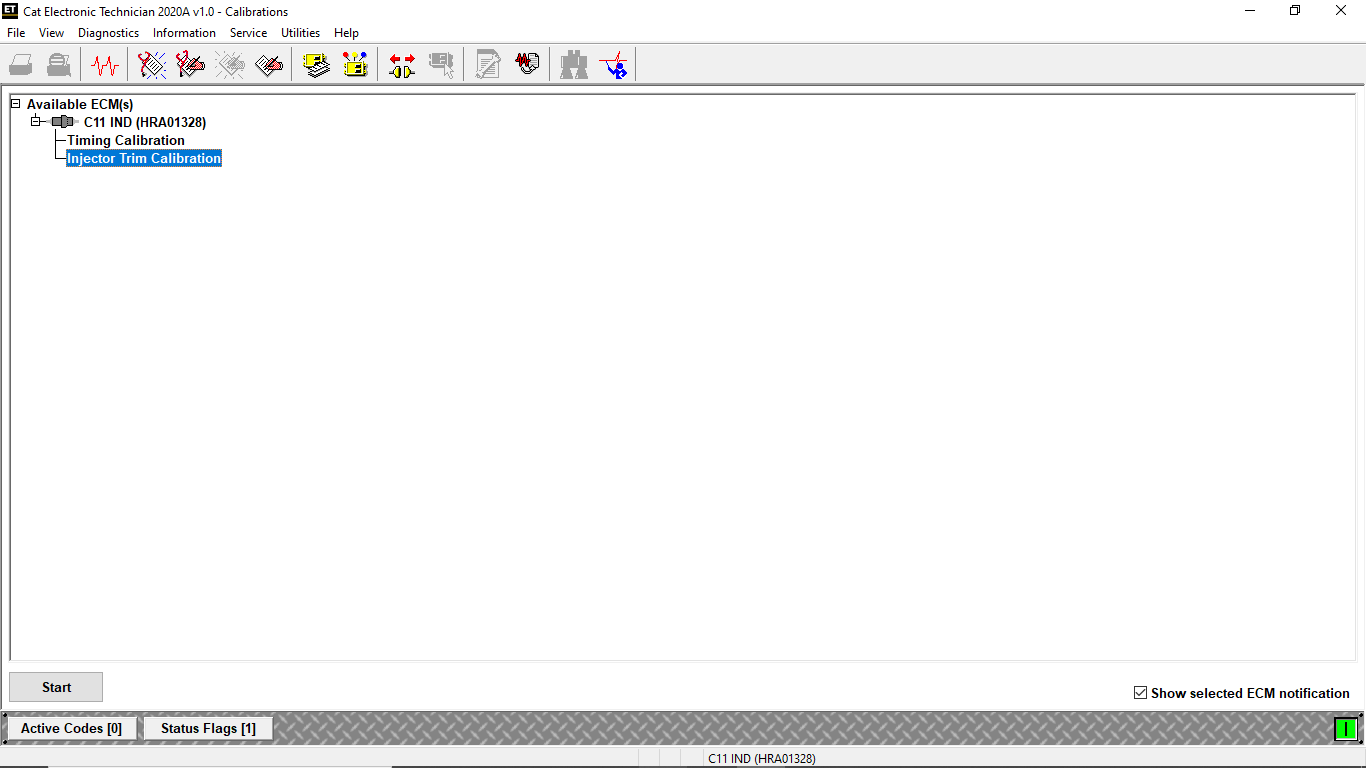
- Click Start. The Injector Trim Calibration screen will appear.
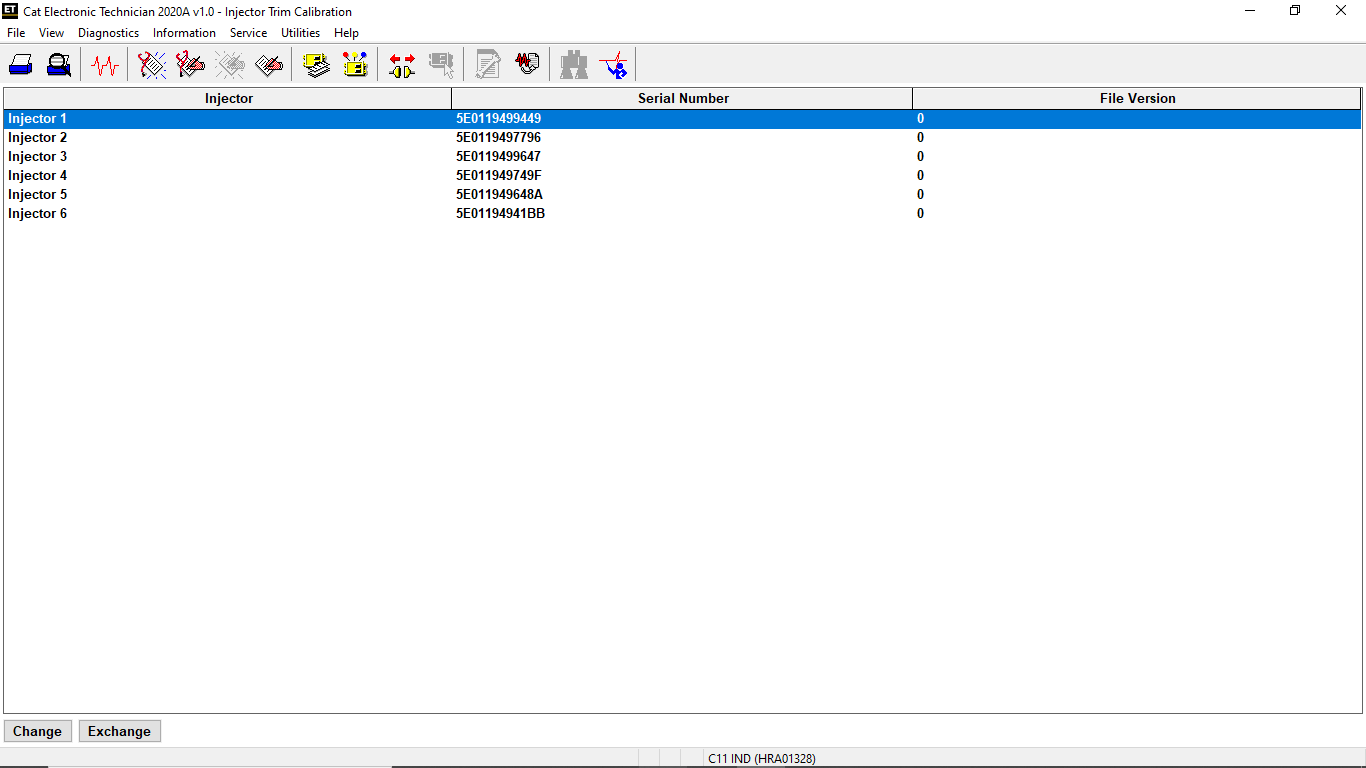
#Screen Layout
A. Display Area
The Injector Trim Calibration display area consists of three columns:
- Injector: Lists available injectors.
- Serial Number: Displays the serial number for each cylinder.
- File Version: Shows the version of the injector trim file currently programmed into the ECM.
On some products, a Tattletale column may appear, indicating the number of times the trim file has been changed.
B. Buttons
- Change
- Replace
Note: Some products do not support the electronic injector replacement feature, so the Replace button may not be displayed.
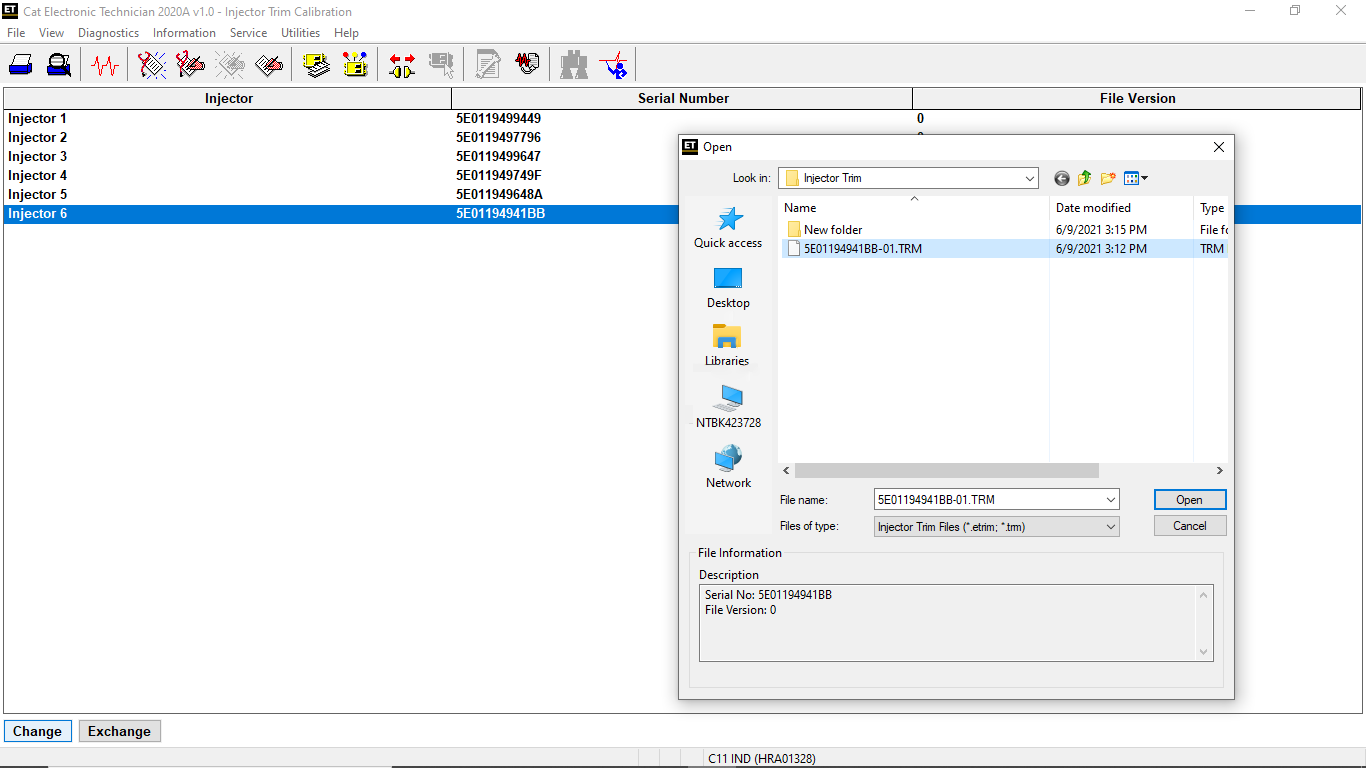
#How to Program an Injector
- Highlight the injector to be changed and click Change. The Open dialog box will appear.
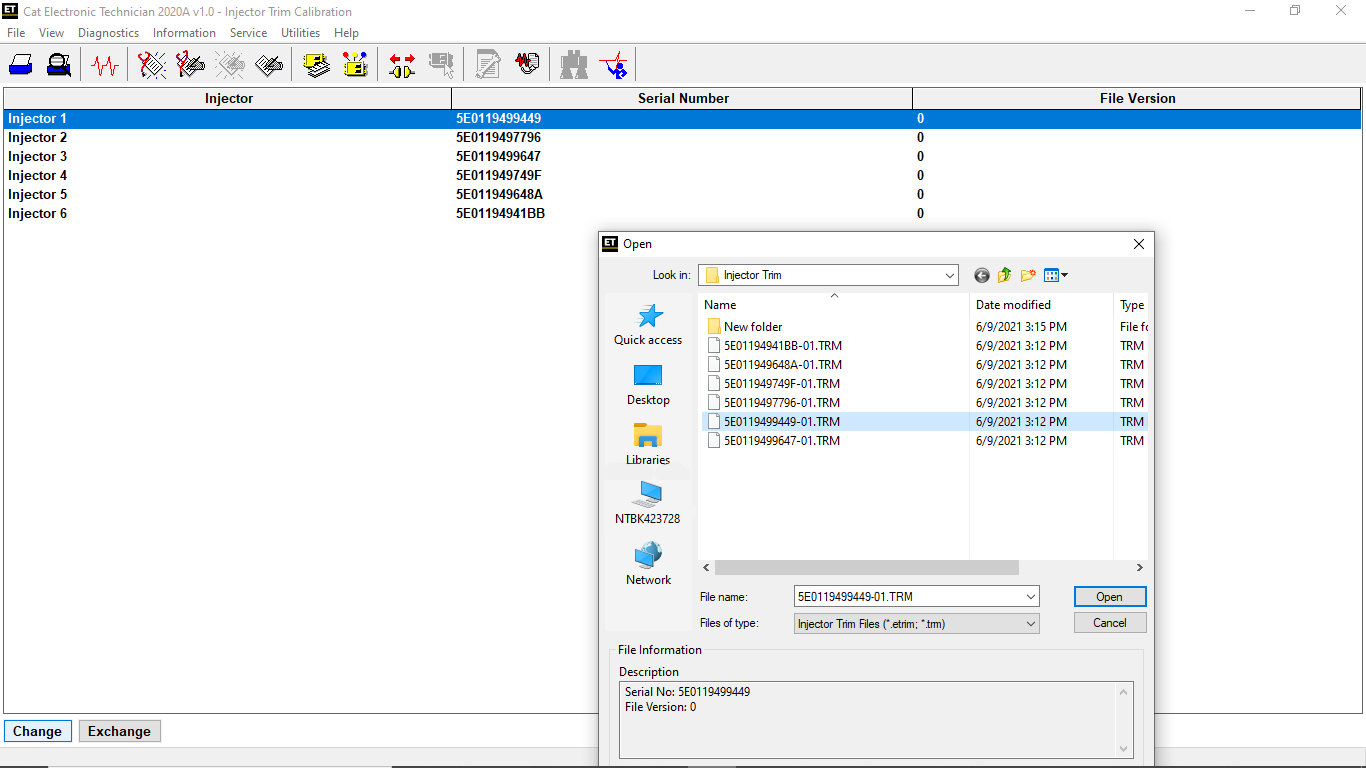
- Note: The dialog box will show the file location based on preferences set in the software.
- Select the injector trim file for the highlighted injector and click Open.
- Note: Injector trim files must be selected one at a time.
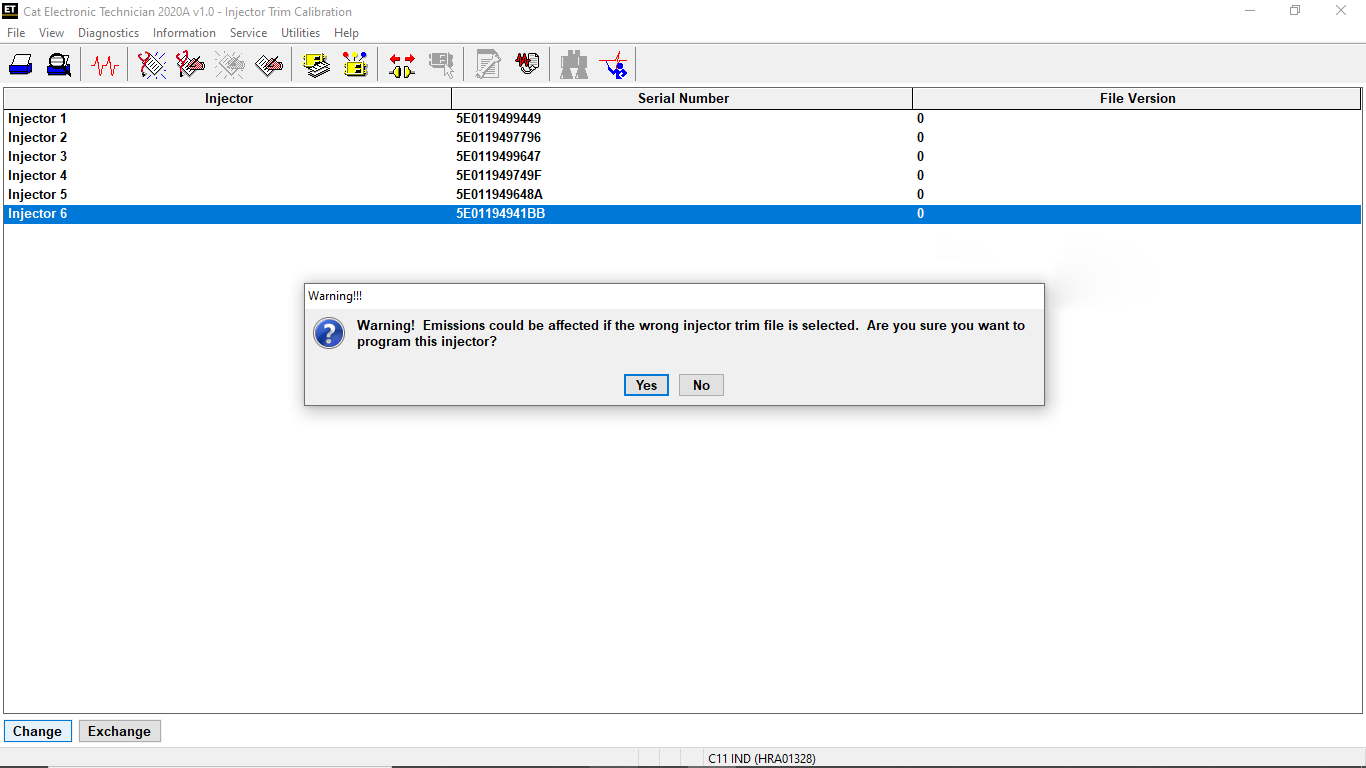
- Click Yes when prompted. A progress bar will appear, and once the calibration is complete, a confirmation message will display.
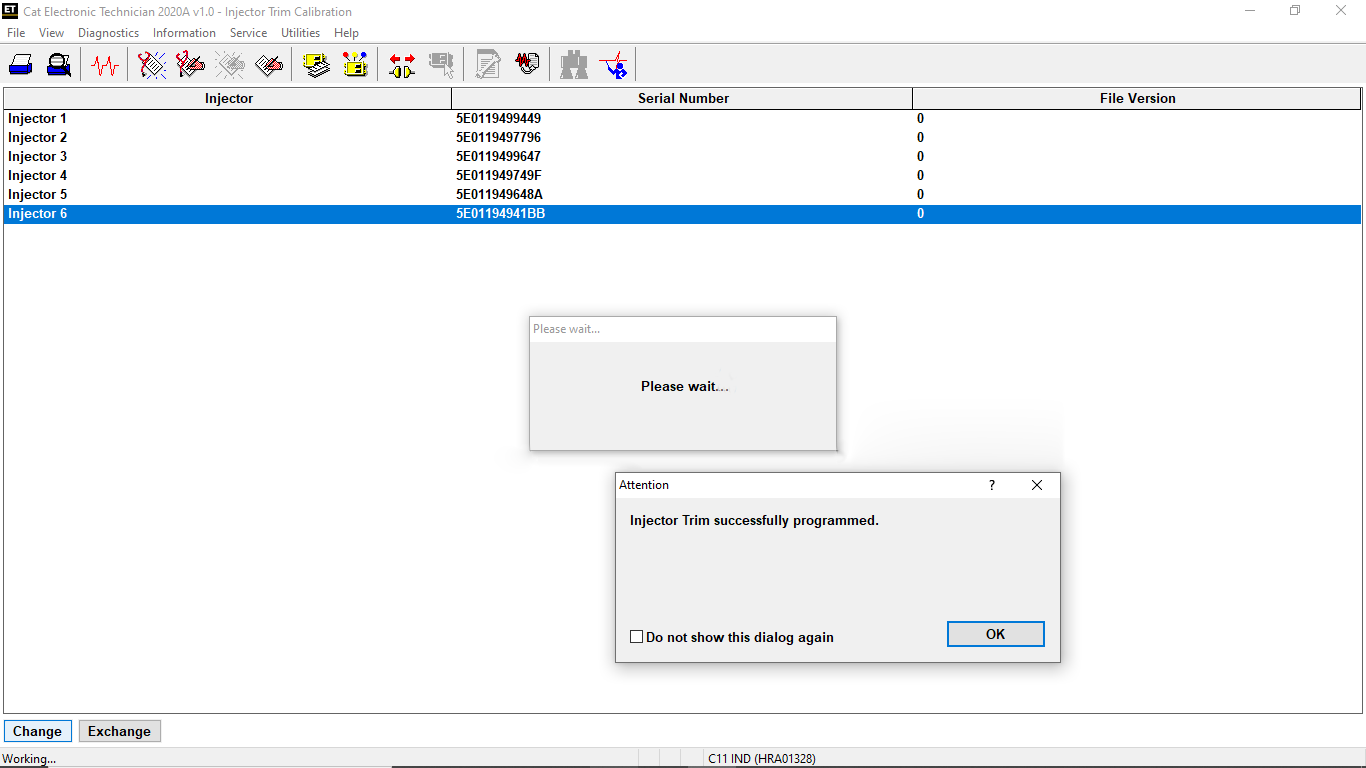
- Click OK to return to the Injector Trim Calibration screen.
Note: If an incorrect verification code is entered, the injector will not be programmed.
#SWAP Function
The SWAP button allows you to exchange trim information between two injectors for diagnostic purposes. Note: Not all products support this function.
#How to Swap Two Injectors
- Click Replace. The Replace Injector dialog box will appear.
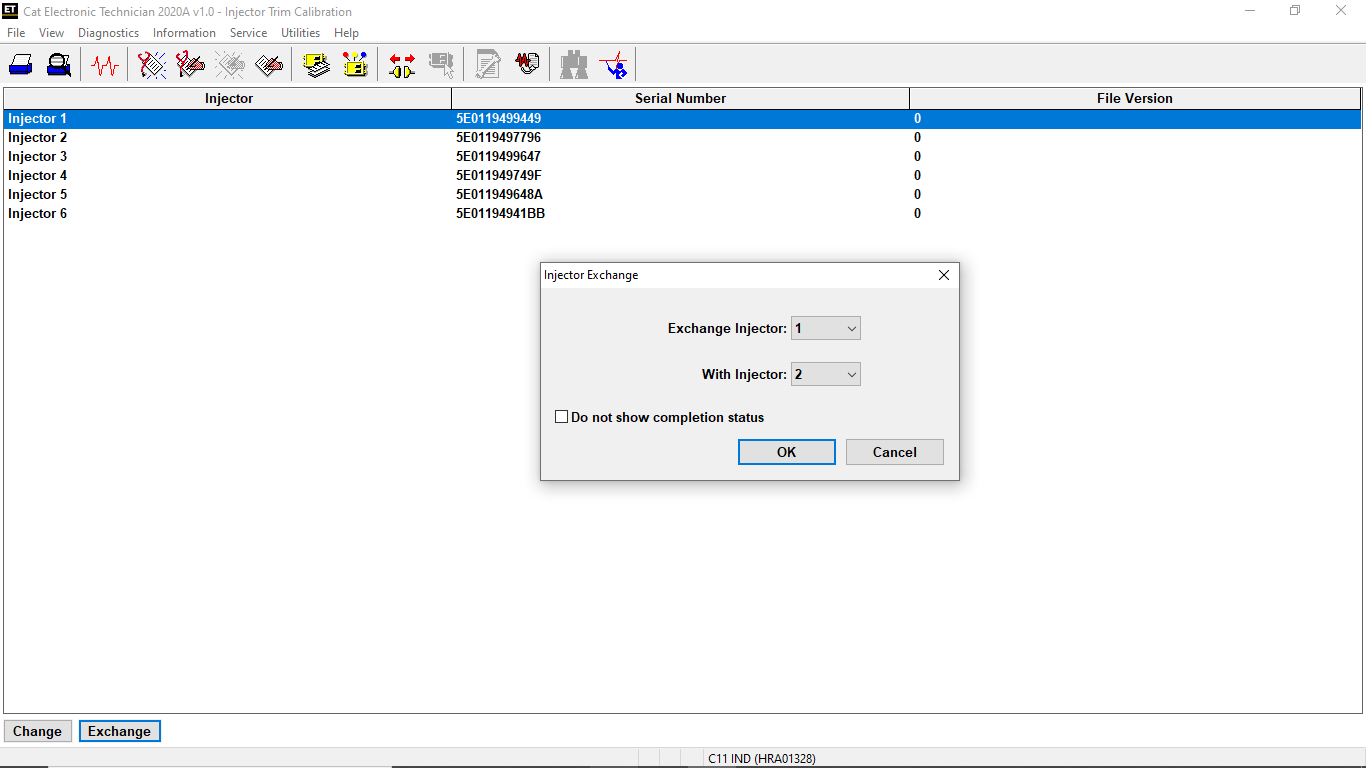
- From the Replace Injector drop-down list, select the first injector to be replaced.
- Select the second injector to exchange from the With Injector drop-down list.
- Click OK. A progress bar will appear, followed by a confirmation message.

- Once the process is complete, the Injector Trim Calibration screen will display updated information.
Leave a Reply