")
This is a tutorial to show how to use PCMTUNER ECU Tool working with the original software. Covering registration & activation, connection and ECU reading. Read this post to learn how it works.
Email Registration & Activation
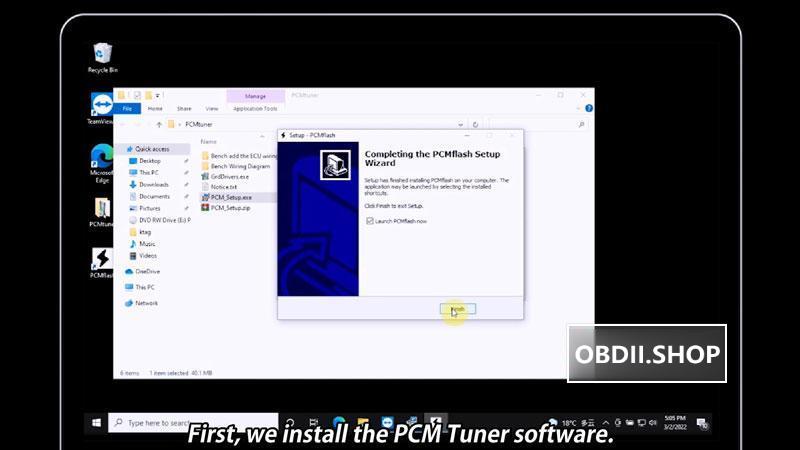
* Install the PCMtuner
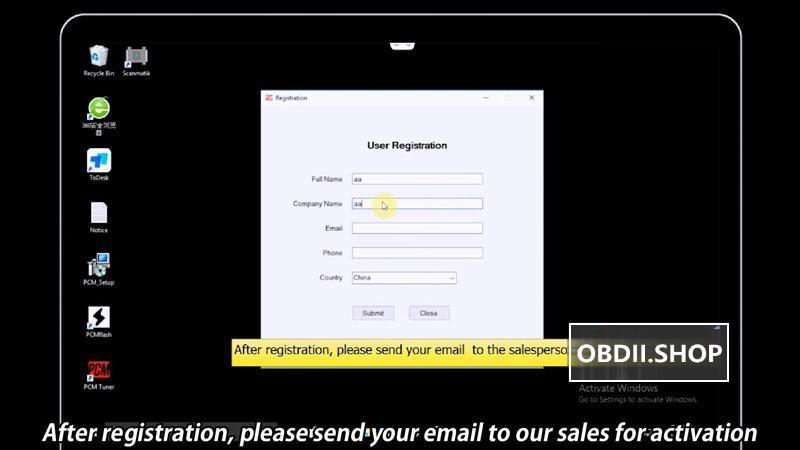
* After installation is completed, open software to register by email.
* Once register successfully, Remember to send your email to our sales for activation.
(as long as you buy our equipment, you can activate it for free once)
Connect The Device
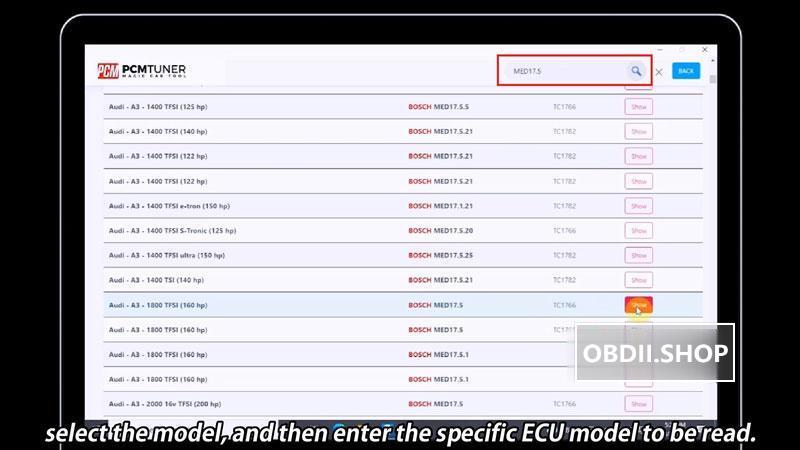
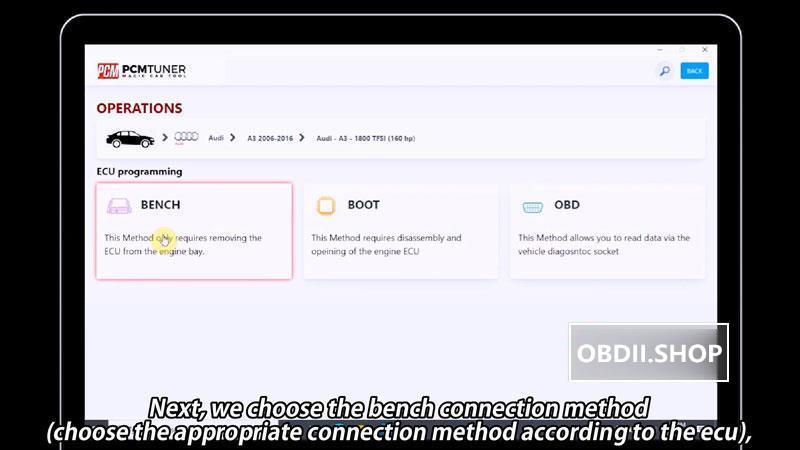
* After activation is completed, enter into software again, select model and specific ECU model to be read.
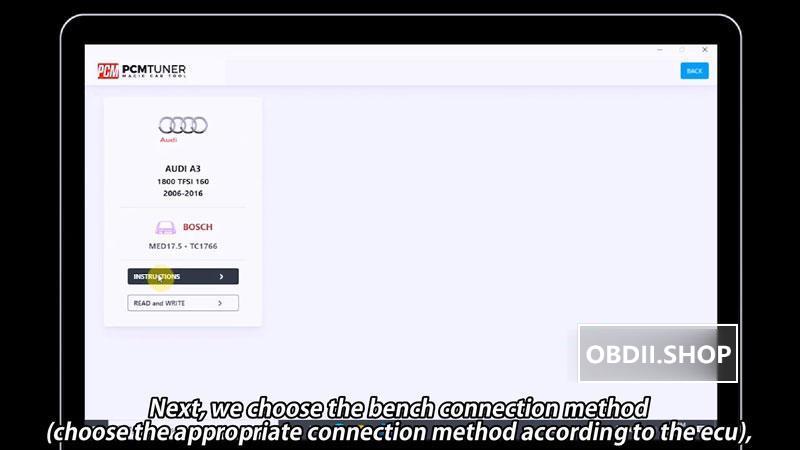
* Choose appropriate connection method according to ECU(BENCH/BOOT/OBD)
* Click “INSTRUCTIONS”, here you can view the ECU info and specific wiring diagram.

How to connect PCMTUNER?
Step1. Connect the BENCH/BOOT cable to PCMTUNER, the other end to ECU.
(*Noted wire connection should refer to instructions code instead of colors.)
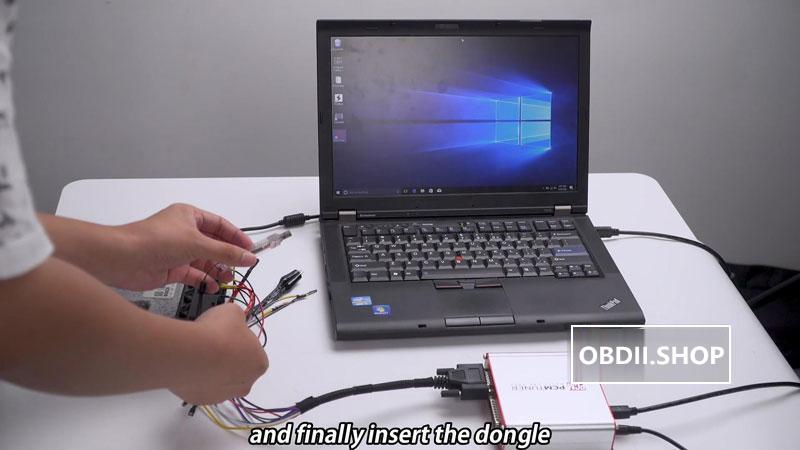
Step2. Connect PCMTUNER to the USB cable, the other end to computer.
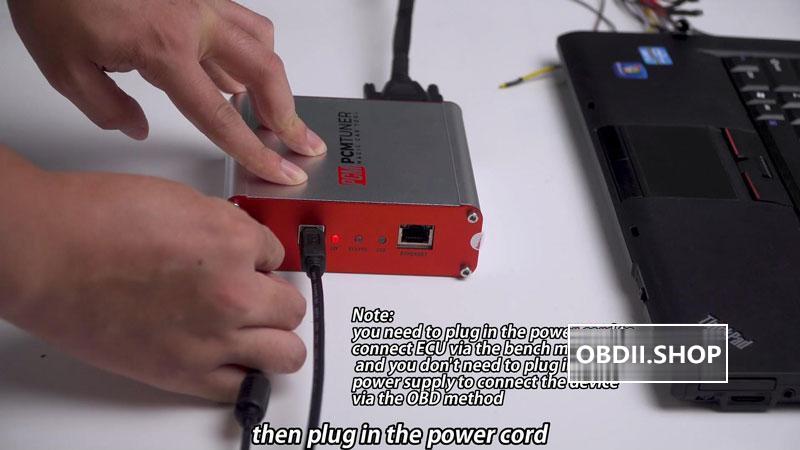
Step3. Plug the power cord to PCMTUNER.
Note:
It requires to plug in the power cord to connect ECU via bench method,
No need to plug in the power supply to connect the device via OBD method.
Step4. Finally insert PCMTUNER Dongle.
Read ECU Data
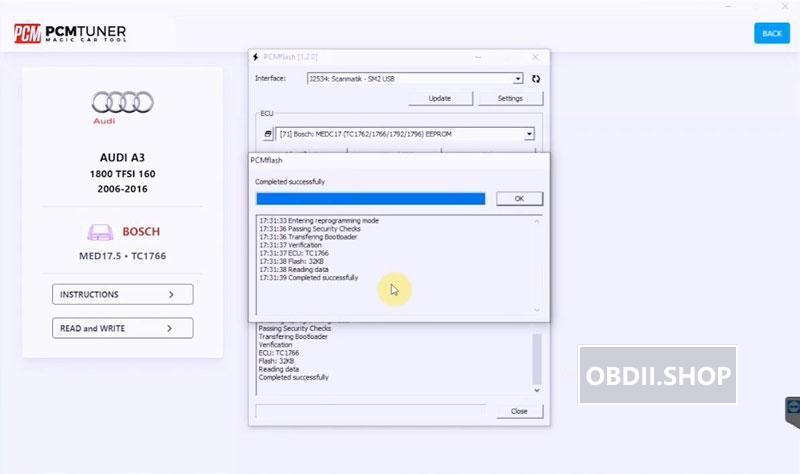
Click “READ and WRITE”>> Select appropriate ECU options >> Identification >> Yes >> Read >> Yes
PCMTUNER will starts reading the ECU, you can save it after reading is completed.
This is how to use PCMTUNER with PCM Tuner software.
Leave a Reply