
Nexiq eTechnician offers a range of special tests to aid in vehicle diagnostics. Most tests require eTechnician to be connected to a running vehicle. The available tests vary based on the connected module.
Related Contents:
NEXIQ USB Link 2 Diagnostic Kit with Full Cables
Accessing Available Tests
From the Tests tab, you can:
- View a list of tests available for the connected modules.
- Access detailed test information.
- Select and run a test.
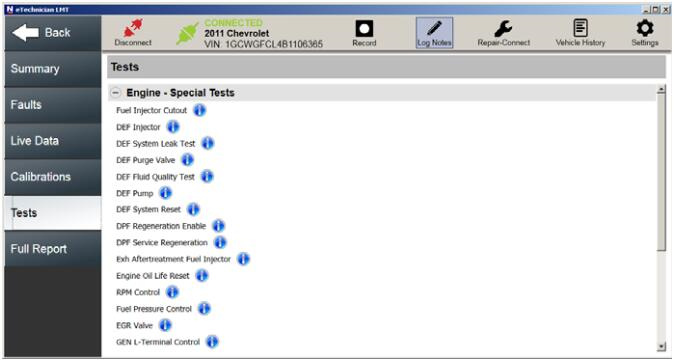
Viewing the List of Available Tests
- Click on the Tests tab on the left side of the display.
- Use the scroll bar on the right to browse through the list of available tests.
- Click the Info icon next to a test (e.g., EGR Cooler Bypass Valve) to view detailed information.
- The Test Information screen will appear.
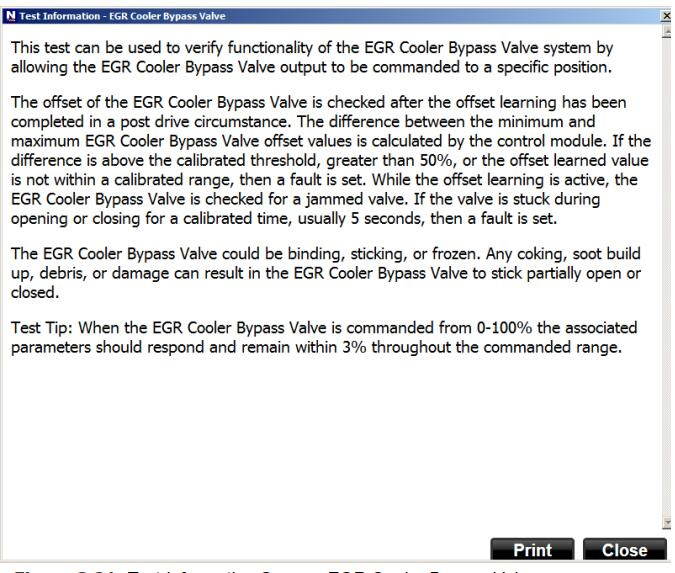
- The Test Information screen will appear.
- Review the provided details, including any test tips.
- (Optional) Click Print to print the information.
- If no printer is connected, you can save the information to a file.
- Click Close to return to the test list.
Running a Test
Most special tests follow a similar procedure. Below are general steps to run a test:
- Navigate to the list of available tests.
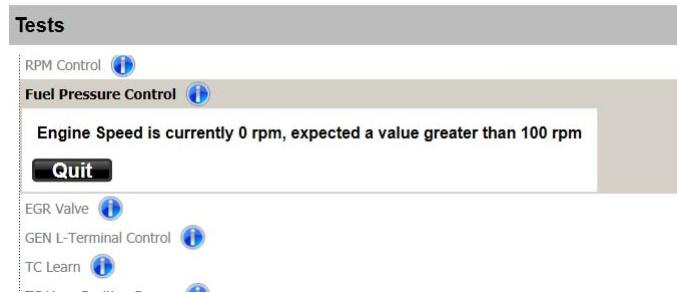
- Click on a test to select it (e.g., Fuel Pressure Control).
- Some tests require preconditions (e.g., specific engine speed or coolant temperature) before starting.
- If prompted with a precondition message, click Quit, meet the requirement, and reselect the test.
- Other tests will start immediately upon selection.
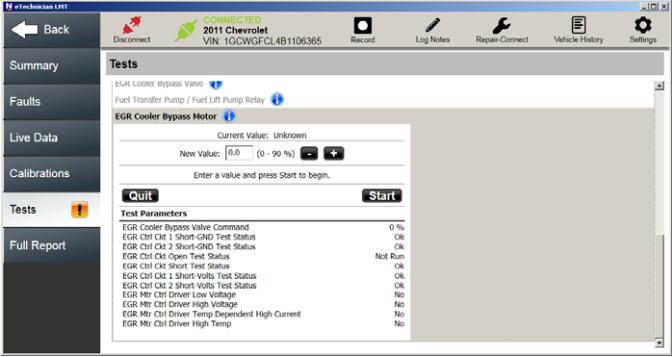
- Click Start to begin the test and follow any on-screen instructions.
- Click Quit to end the test.
- The list of available tests will be displayed again.
Leave a Reply