
Connecting to the Device
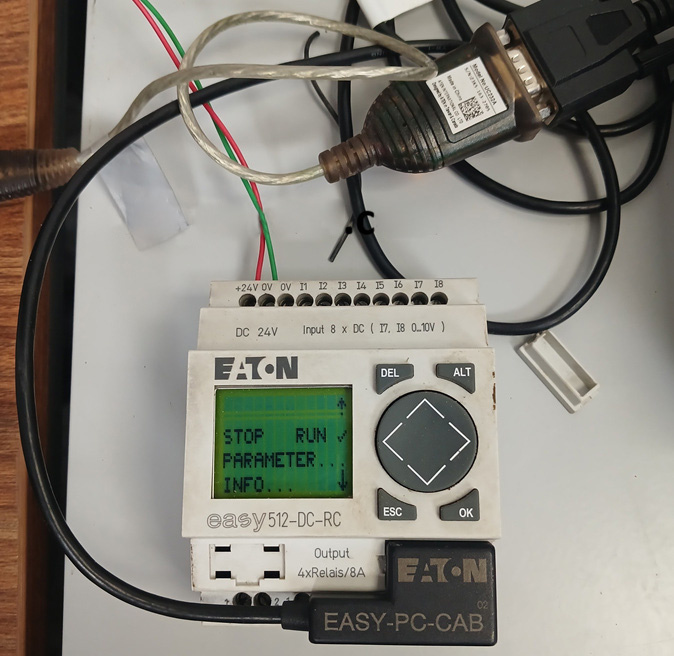
- Connect the programming cable to the serial PC interface using the EASY-PC-CAB.
- Activate the Communication View by clicking the Communication button at the bottom of the Toolbox or by selecting View > Communication.
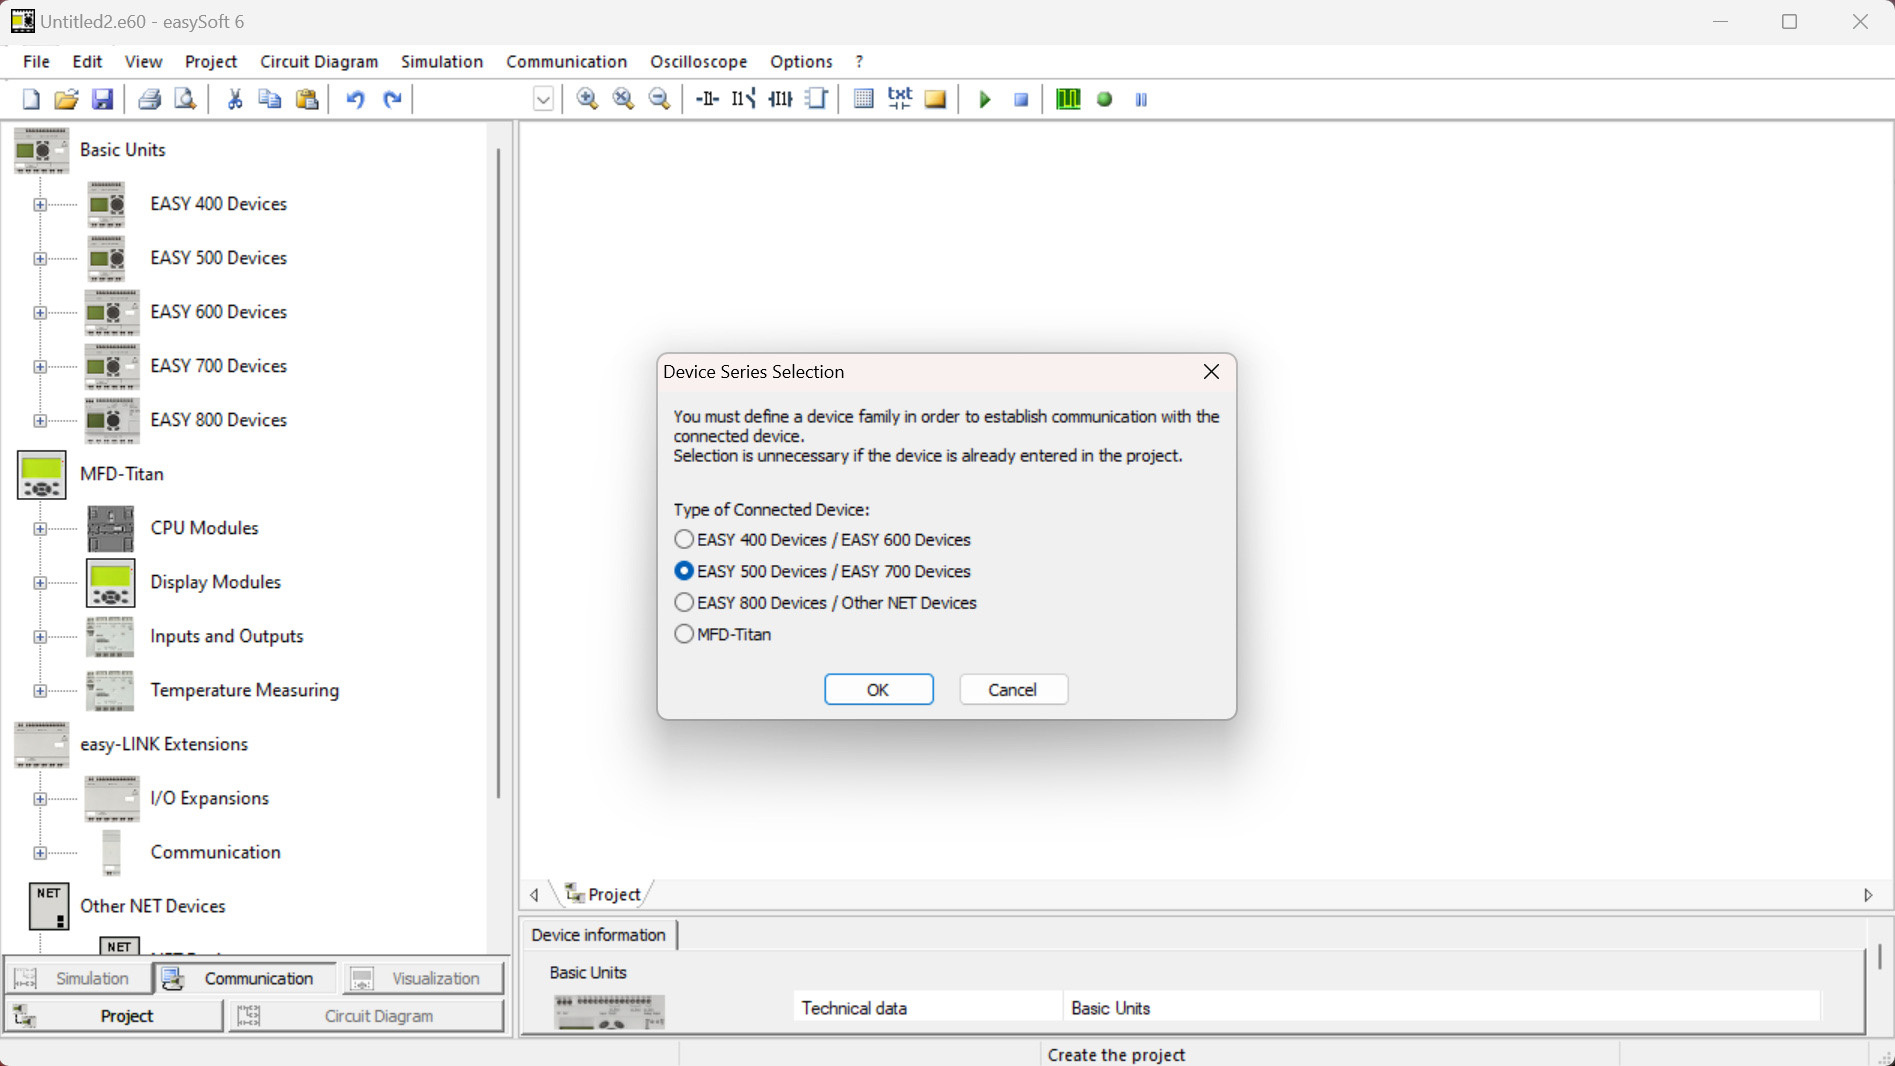
- Identify the connected device in the programming software. Since we are using the easy512-DC-RC, which belongs to the easy500/700 series, select this series and confirm by clicking OK. The software will then enter Communication View.
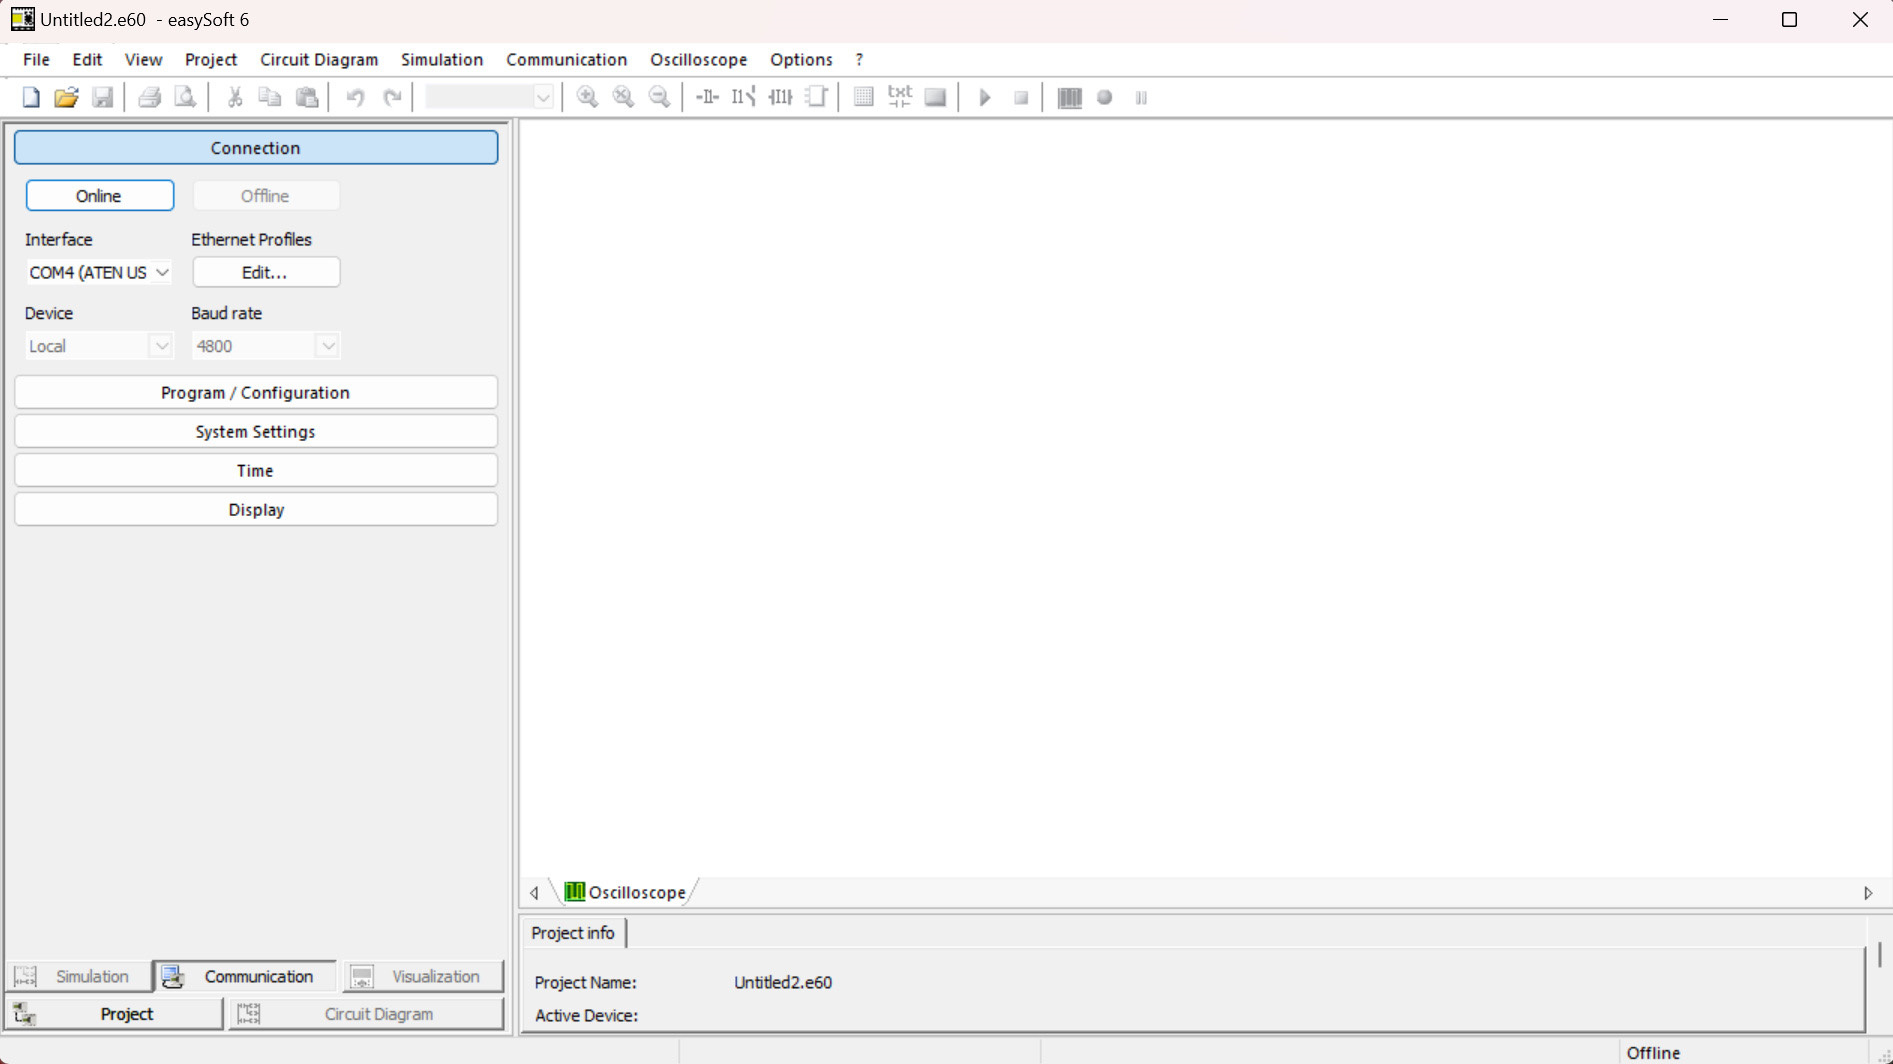
- Open the Connection roll-up dialog from the Toolbox and click the Online button or select Communication > Online to establish an online connection.
- Choose the appropriate interface by selecting Interface (COM 1 … 9) to match the required COM port.
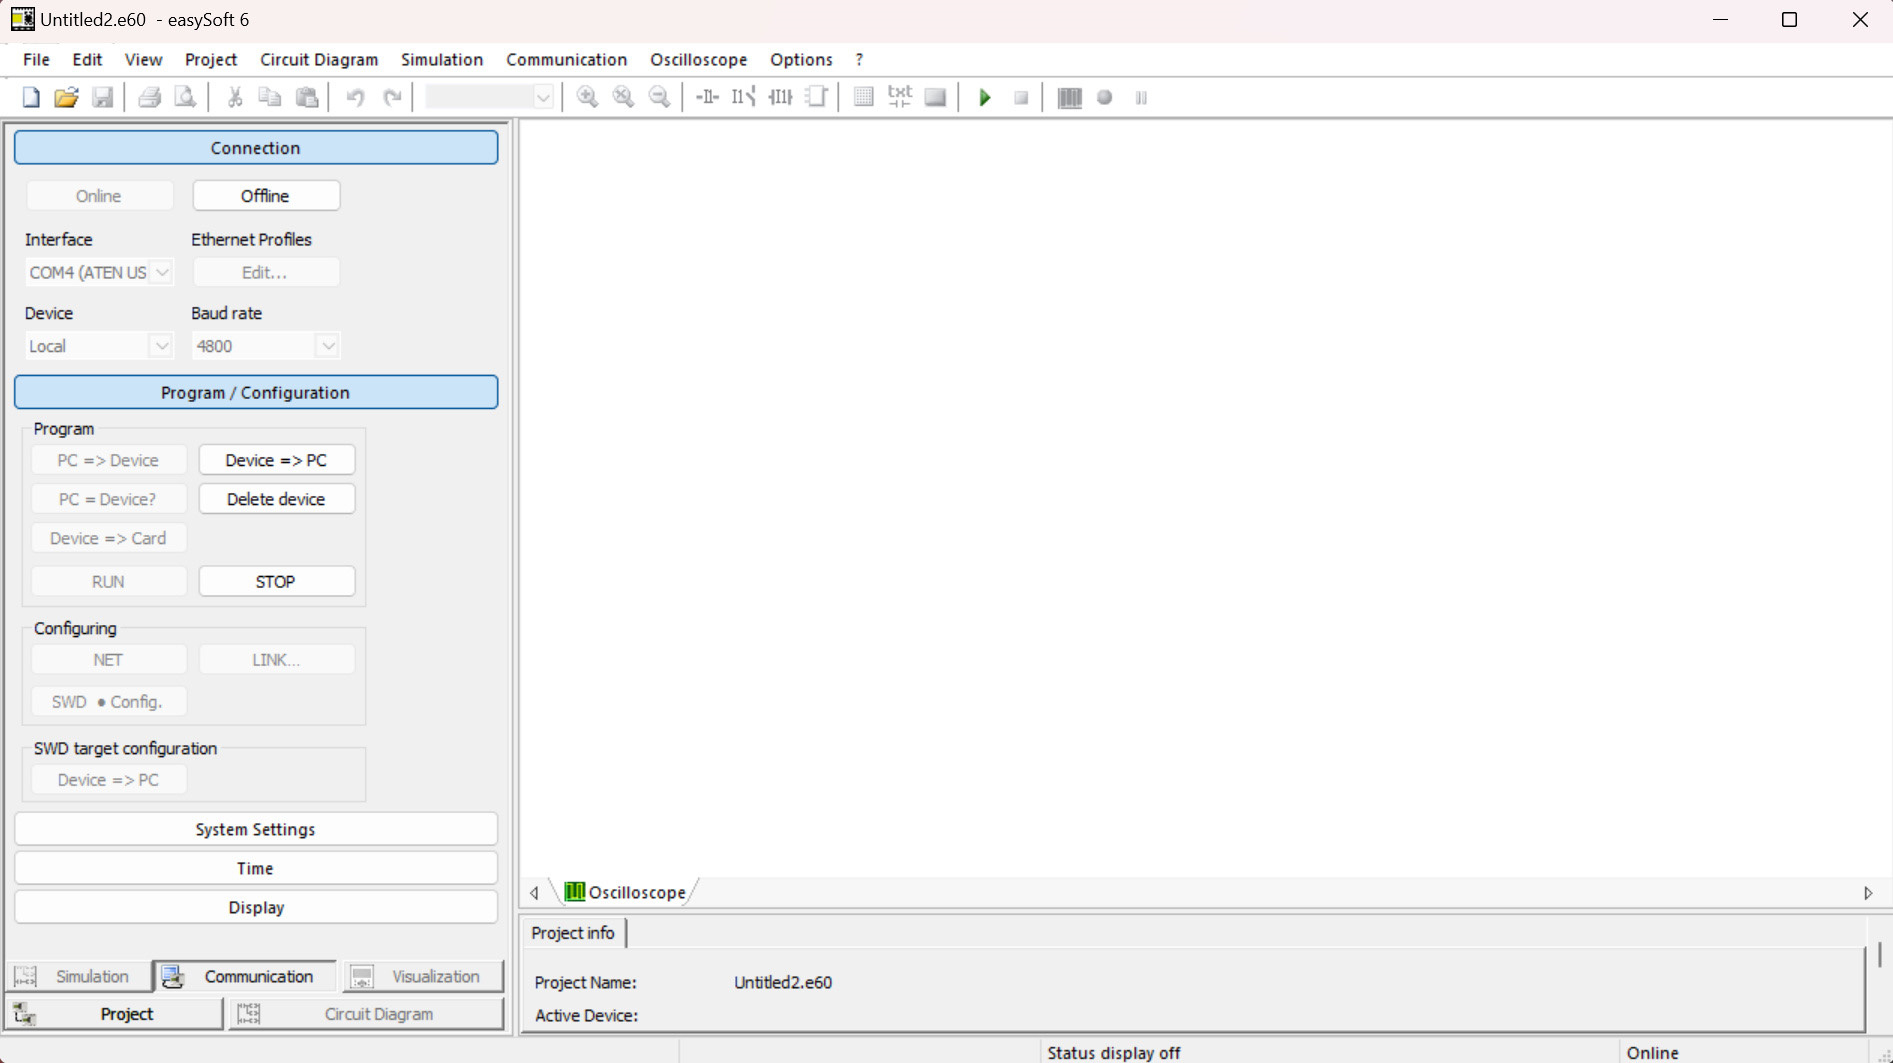
Program/Configuration
Commands
The software provides several commands to manage the program, including:
- Transfer
- Comparison
- Delete
- Start
- Stop
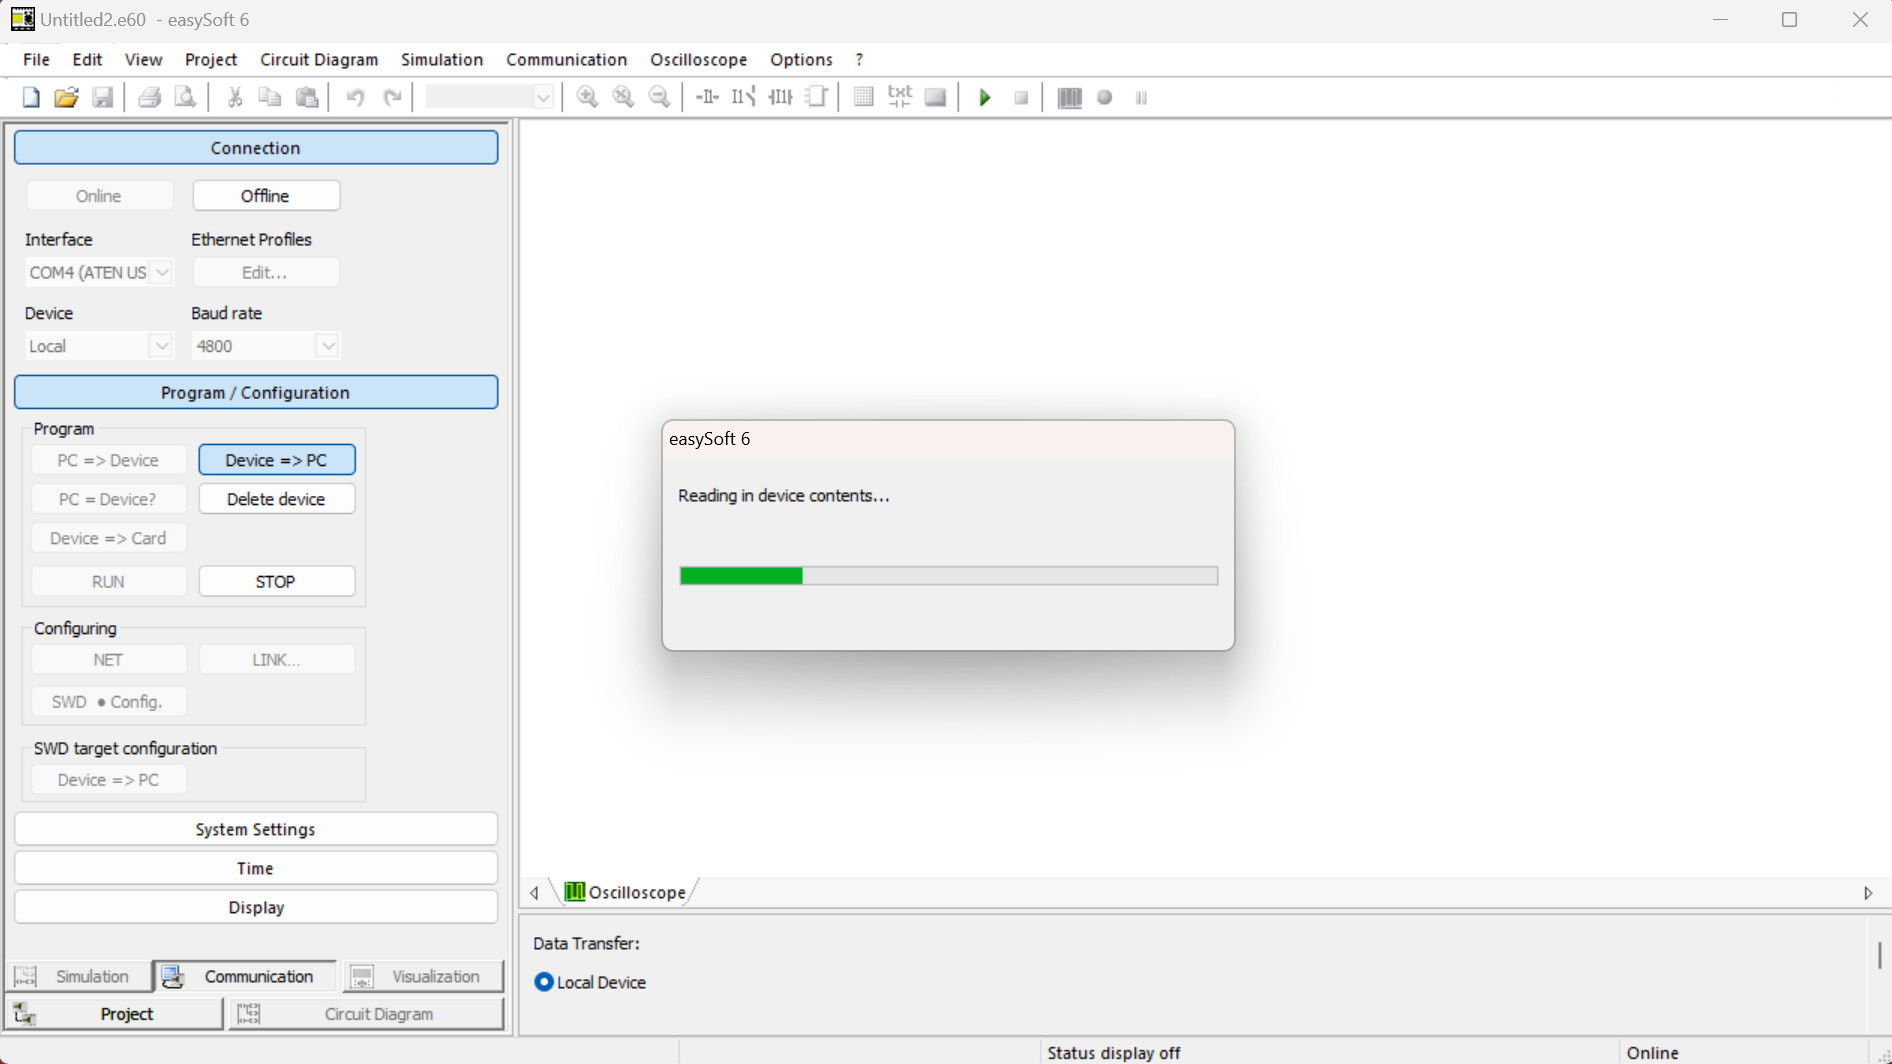
Transferring Programs
- Device to PC:
- The program saved on the device is transferred to the project view, overwriting any existing contents.
- PC to Device:
- The program created in the project view is transferred from the PC to the device.
- The device must be in its basic display state (e.g., status indication) and in the Stop operating state before transfer. If not, the system will prompt you to switch the device to the correct state.
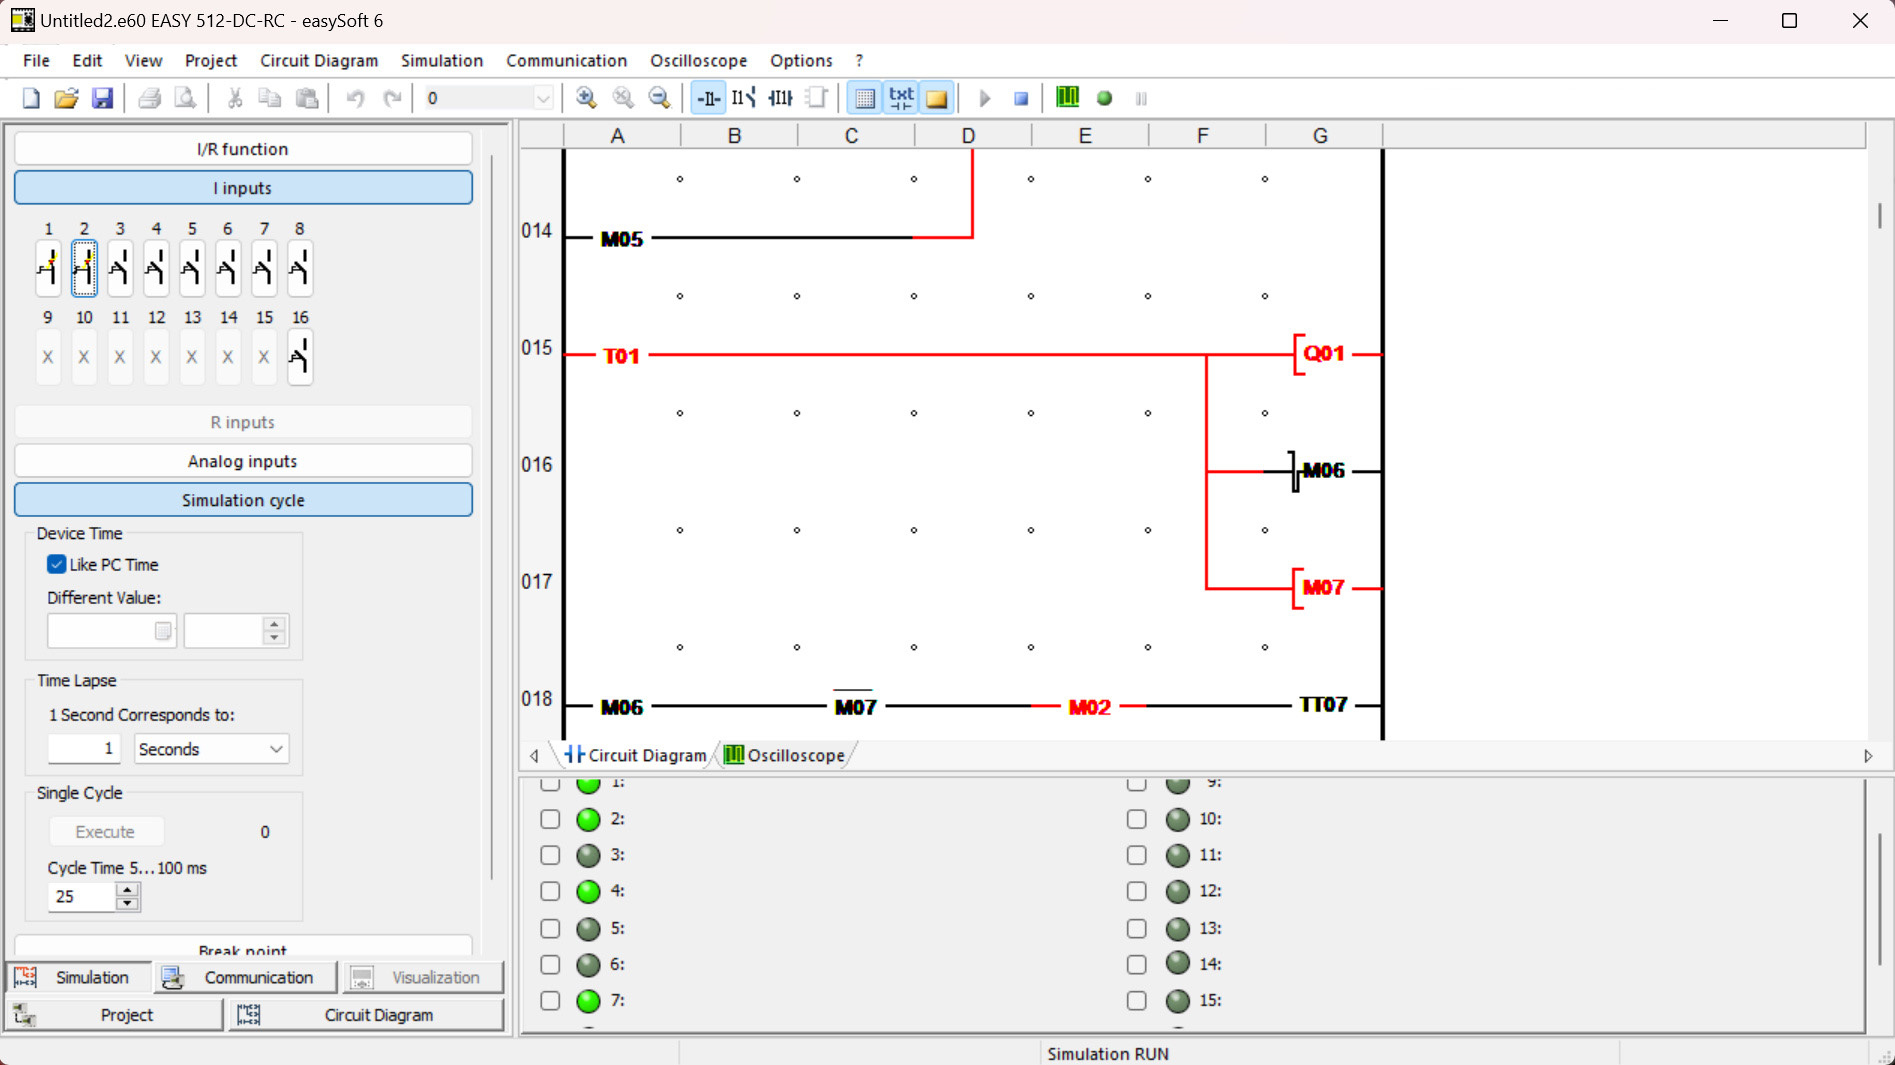
Simulation
- Activate the Simulation View by clicking the Simulation button at the bottom of the Toolbox or by selecting View > Simulation.
- When the simulation function starts, the Simulation View will display the program behavior for testing.
This guide ensures a smooth process for uploading and managing programs between easySoft 6 and easy500/700 series control relays.
Leave a Reply