
Procedure for Relieving Pressure:
Before performing any maintenance on a hydraulic circuit, it’s essential to relieve the hydraulic pressure to ensure safety. Always relieve the pressure before disconnecting or removing hydraulic lines. Follow these steps to safely relieve hydraulic pressure in the following circuits:
- Boom hydraulic circuit
- Stick hydraulic circuit
- Bucket hydraulic circuit
- Swing hydraulic circuit
- Travel hydraulic circuit
- Attachment hydraulic circuit (if equipped)
- Pilot hydraulic circuit
- Return hydraulic circuit
Warning:
Hot oil or hydraulic pressure can cause serious injury. After shutting off the engine, the hydraulic system may still retain pressure. Failure to relieve this pressure before maintenance can result in personal injury. Ensure all tools are lowered to the ground, and the hydraulic fluid is cool before opening any hydraulic components.
Note:
Ensure proper fluid disposal when inspecting, maintaining, or repairing the system. Use appropriate tools and containers to collect fluids, as specified in Cat’s Dealer Service Tool Catalog (NENG2500), and dispose of them according to local regulations.
Steps for Relieving Hydraulic Pressure:
- Park the Machine: Ensure the machine is on a level surface.
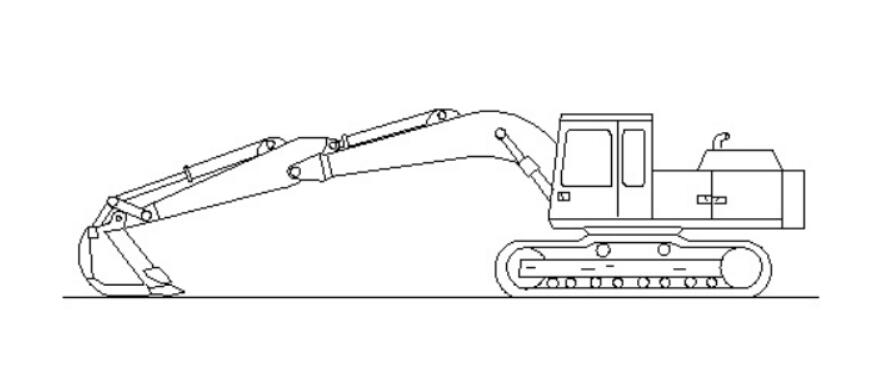
- Position Boom and Bucket: Fully retract the boom cylinder rods and position the bucket parallel to the ground. Lower the boom until the bucket is level with the ground.
- Shut Off the Engine: Turn off the engine to stop the hydraulic system.
- Turn on the Engine Switch: Turn the engine start switch to the ON position without starting the engine.
- Unlock the Hydraulic Control Lever: Move the hydraulic start control lever to the unlocked position.
- Move the Control Lever or Pedal: For the specific hydraulic circuit you need to maintain, move the corresponding control lever or pedal to the full position. This releases pressure in that particular circuit, as well as in the pilot hydraulic circuit.
- If necessary, activate the service switch for the specific circuit.
- Lock the Control Lever: Return the hydraulic start lever to the locked position.
- Start the Engine: Start the engine again, ensuring no levers, pedals, or switches are moved.
- Unlock the Control Lever: Unlock the hydraulic start control lever, but do not move any controls from the neutral position.
- Lock the Control Lever Again: Return the hydraulic start lever to the locked position.
- Stop the Engine: Turn off the engine once more.
- Repeat for Other Circuits: Repeat steps 4 through 11 for any additional hydraulic circuits requiring maintenance.
- Lock the Control Lever: Once pressure is relieved from all necessary circuits, move the hydraulic start lever to the locked position.
- Turn Off the Engine: Turn the engine start switch to the OFF position.
- Loosen the Hydraulic Tank Filler Plug: Slowly loosen the hydraulic tank filler plug for at least 45 seconds to relieve any remaining pressure in the return hydraulic circuit.
- Tighten the Filler Plug: Re-tighten the hydraulic tank filler plug to the specified torque.
Following these steps ensures the hydraulic pressure is fully relieved, allowing safe removal or disconnection of hydraulic components for maintenance.
Leave a Reply