
This guide provides step-by-step instructions on how to remove the high-pressure pump from a CLAAS AXION 950 tractor.
Related Contents:
CLAAS CDS 7.5 Diagnostic Software 2021 2020 Free Download
CLAAS 4x CAN Diagnostic Interface
Claas WebTIC Offline Repair & Service 2024 2015 Free Download
Steps for Removing the High-Pressure Pump
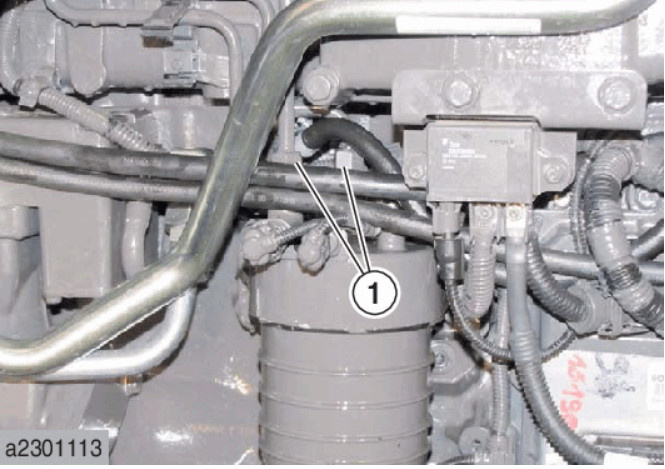
- Disconnect the Fuel Pressure Solenoid Valve
- Unplug the “Y489” (1) fuel pressure solenoid valve.

- Unplug the “Y489” (1) fuel pressure solenoid valve.
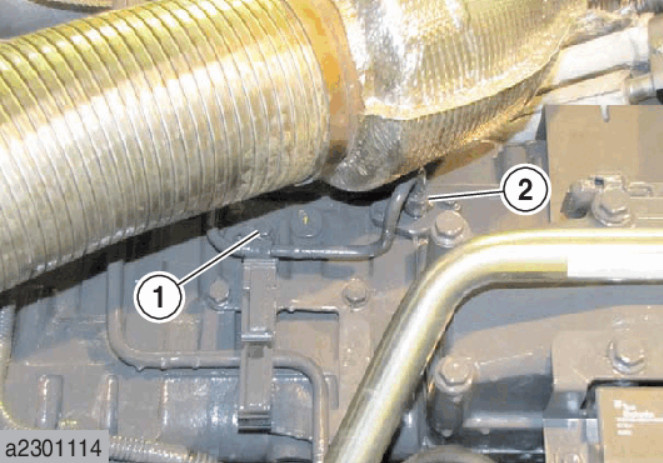
- Remove the Rigid Pipes
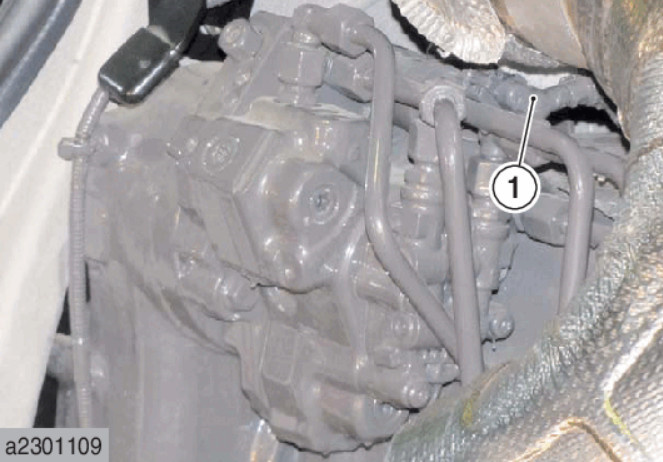
- Unscrew and remove the rigid pipe (1).
- Remove the mounting bolt (2).
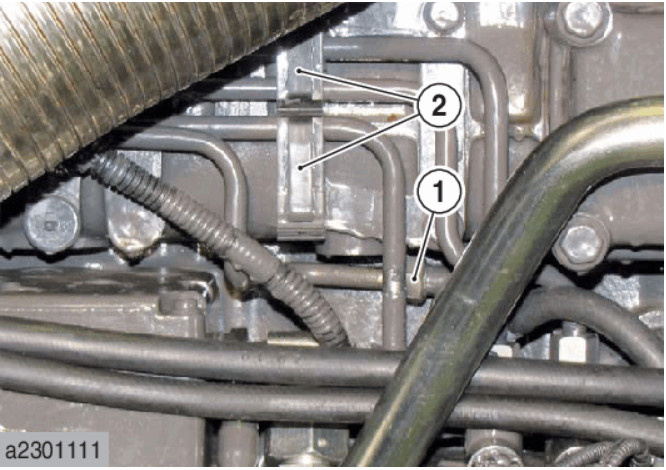
- Unscrew and remove the rigid pipe (1) again.
- Remove the brackets (2).
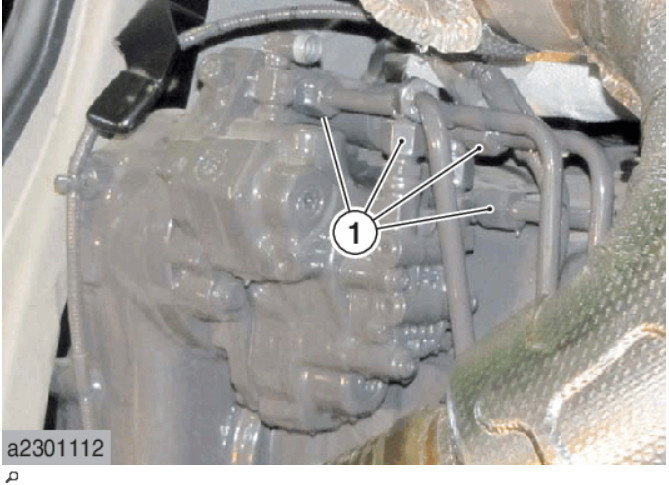
- Unscrew and detach the rigid pipes (1).
- Unscrew and remove the rigid pipes (1).
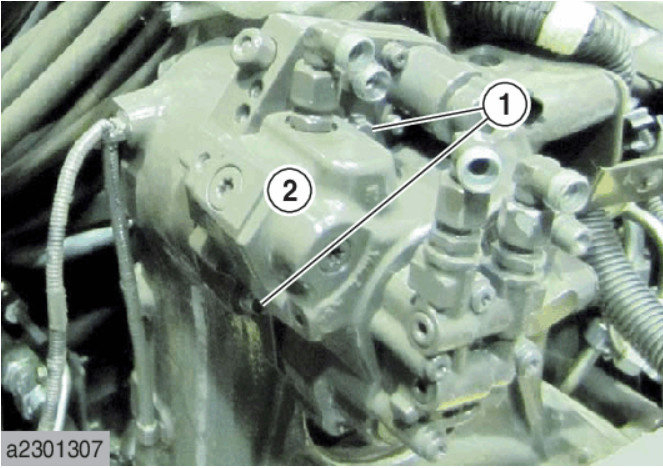
- Detach the High-Pressure Pump
- Remove the mounting bolts (1).
- Unscrew and remove the rigid pipe (2).
- Remove the three mounting bolts (1) securing the high-pressure pump.
- Carefully remove the high-pressure pump (2).
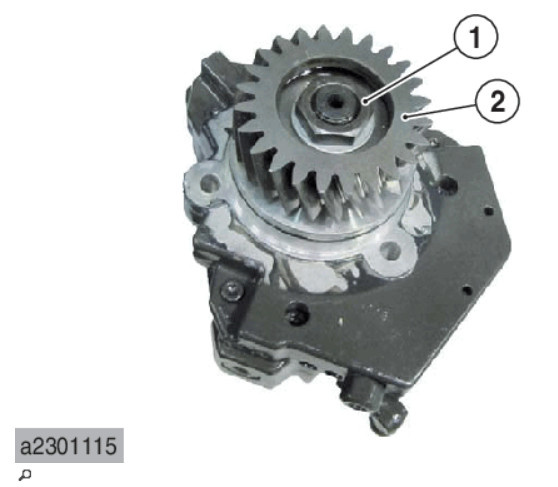
- Remove the Pinion
- Unscrew the nut (1).
- Remove the pinion (2).
By following these steps, you can safely remove the high-pressure pump from your CLAAS AXION 950 tractor. More repair case for CLAAS,please refer to CLAAS Trouble Repair
Leave a Reply